


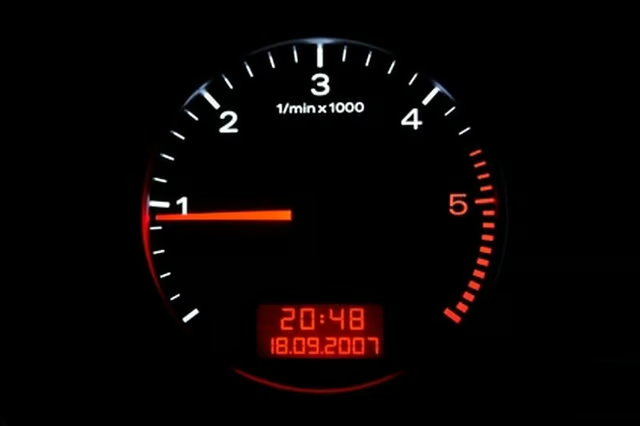
The RPM gauge--called a tachometer--tells you the number of revolutions per minute (RPM) that your boat motor's crankshaft is turning. The RPM gauge lets you know when you approach the highest number of revolutions per minute that your motor can attain without hemorrhaging internally, so that you don't exceed that rate. Whether you're installing a new RPM gauge or simply upgrading the one that's already present, this trip under the dashboard can be completed in a single afternoon.
Items you will need
Female blade terminals
Copper stranded wire, red
Copper stranded wire, yellow
Pliers-type crimping tool
Crimp the female blade terminals to one end of each of the two red, stranded copper wires and one yellow, stranded copper wire, with a pliers-type crimping tool. Push the female blade terminal from the tachometer sensor onto the male terminal marked "S" on the back of the RPM gauge.
Push the female blade terminal of one red wire onto the male blade terminal on the back of the RPM gauge marked "L." This is the wire for the gauge's light. Push the female blade terminal of a red wire onto the male blade terminal on the back of the RPM gauge marked "+" or "POS". This is the power lead for the RPM gauge. Push the female terminal of the yellow wire onto the male blade terminal on the back of the RPM gauge marked "-" or "GND."
Pull the female blade terminal from the male blade terminal marked "L" of the gauge next to the RPM gauge. Push the stranded end of the red wire from the RPM gauge light terminal into the female blade terminal. Push that female blade terminal, as well as the wire you inserted, back onto the male blade terminal marked "L" of the gauge from which you pulled the female blade terminal.
Pull the female blade terminal from the male blade terminal marked "+" of the gauge next to the RPM gauge. Push the stranded end of the red wire from the RPM gauge power terminal into the female blade terminal. Push that female blade terminal, as well as the wire you inserted, back onto the male blade terminal marked "+" of the gauge from which you pulled the female blade terminal.
Pull the female blade terminal from the male blade terminal marked "-" or "GND" of the gauge next to the RPM gauge. Push the stranded end of the yellow wire from the RPM gauge power lead into the female blade terminal. Push that female blade terminal and the wire you inserted, back onto the male blade terminal marked "-" or "GND" of the gauge from which you pulled the female blade terminal.