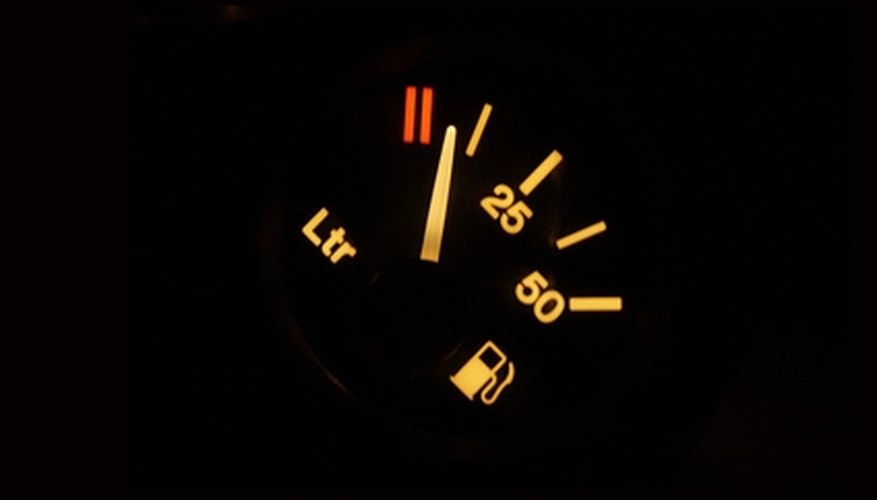
Installing a new fuel gauge may not seem like a cause for celebration, but if you install and wire it yourself, you've saved enough money to throw a couple of very good steaks on the grill. Wiring a fuel gauge is much the same as wiring any other gauge on your boat: one wire comes from the ignition to the instrument, one wire comes from the sensor to the instrument, one wire comes to the instrument light and one wire from the instrument goes to the boat's common ground. The wires may follow a seemingly unusual path, but the system works.
Items you will need
Stranded copper wire
Wire stripper
Female blade terminals
Plier-type wire crimper
Multimeter
Disconnect your boat's battery. Look at the back of the gauge. There are four male blade terminals, one for the lights (marked "L"), one for the power (marked "I"), one for the ground (marked "-") and one for the wire from the fuel tank sender (marked "S")
Slip the female blade terminal of the stranded copper wire onto the "L" blade terminal of the fuel gauge. Remove the blade terminal for the instrument light of the instrument nearest the fuel gauge. Slip the stripped end of the stranded copper wire from the "L" terminal of the new fuel gauge into the female blade terminal for the instrument light for that existing instrument. Replace the female blade terminal on the blade terminal for the instrument light of the instrument next to the fuel gauge. This is called "daisy-chaining" the instruments.
Daisy-chain the "I" wire of the fuel gauge to the power terminal of the instrument next to the fuel gauge. Daisy-chain the "-" wire to the ground wire--which may be also be marked "-" or "GND"--of the instrument next to the fuel gauge.
Pull the wire from the fuel sender up through your boat's dash. Slip the female blade connector on the wire from the fuel sender onto the "S" terminal of the fuel tank gauge. Install the newly wired fuel gauge in your boat's dashboard.
Warnings
- Disconnect the battery before you start this project and don't reconnect it until after you're through.
Tips
- Use wire strippers to strip wire. Knives or wire nippers tend to break strands. Broken strands mean rusted connections, open circuits, short circuits and a potential for fire.
- Check continuity of the circuits with a multimeter before you apply power to the circuit.
References
Tips
- Use wire strippers to strip wire. Knives or wire nippers tend to break strands. Broken strands mean rusted connections, open circuits, short circuits and a potential for fire.
- Check continuity of the circuits with a multimeter before you apply power to the circuit.
Warnings
- Disconnect the battery before you start this project and don't reconnect it until after you're through.
Writer Bio
Will Charpentier is a writer who specializes in boating and maritime subjects. A retired ship captain, Charpentier holds a doctorate in applied ocean science and engineering. He is also a certified marine technician and the author of a popular text on writing local history.


