


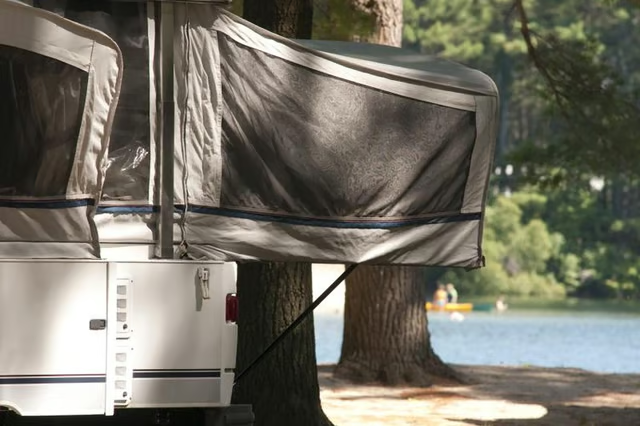
The Velcro on your popup camper takes a beating. Every time you open and close a window, screen or door you place stress on the Velcro closures. Velcro is found where the popup camper canvas attaches to the metal frame, on the awning and sometimes around the external rigging. Replacing worn Velcro can mean an expensive trip to the RV service center, or you can save money by doing this project yourself.
Items you will need
Heavy duty or marine grade Velcro with adhesive backing
Nylon or monofilament thread
Upholstery needle
Scissors
Seam ripper with razor type blade
Measuring tape
Straight pins or safety pins designed for quilting
Waterproof spray for canvas
Olive oil
Scraper
Step 1
Locate all of the Velcro that is in need of repair. Mark the area with a straight pin that has a colorful head.
Step 2
Measure each area of Velcro and cut the new material to match the sections that require repair. Replace both the hook and loop sections.
Step 3
Remove the old Velcro from fabric areas by carefully sliding the seam ripper between the Velcro and the popup camper fabric. Cut through the stitching using an up-and-down sawing motion.
Step 4
Remove Velcro from metal areas by soaking the Velcro that is attached to the metal with olive oil. Let it sit for a minute or two. Use a scraper to lift the Velcro off the metal. Add more oil to the area between the Velcro and metal if the Velcro is difficult to remove.
Step 5
Pin the new Velcro sections in place. Secure it to the popup camper canvas by sewing it with an upholstery needle and nylon thread.
Step 6
Clean metal areas thoroughly with an RV safe cleaner and allow them to dry. Use marine grade Velcro with an adhesive backing to attach the Velcro to metal. Let the repair sit for 24 hours before using the Velcro in order to allow the glue to completely adhere to the metal surfaces.
Step 7
Finish the repair by spraying the outside area with a waterproof spray designed for use on campers. This will seal any needle holes and keep the repair watertight.