


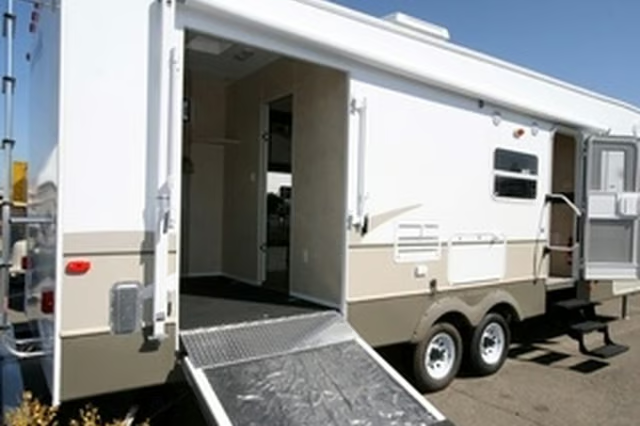
RV ceiling panels deteriorate when leaks occur or with age. When this happens, the vinyl covering starts to peel or separate from the wood behind it. Removing the ceiling panels is not usually possible without causing structural damage to the RV, as the panels are installed before the walls and cabinetry. The best way to handle replacing the RV ceiling panels is to strip off the vinyl covering and replace it with a thin sheet of Masonite hardboard. Masonite hardboard is a versatile material which will accept paint or wallpaper.
Items you will need
Tape measure
Pencil
Sandpaper or sanding disk for drill
Paint scraper
Cordless drill
Table saw or compound miter saw
Masking tape
1/8 inch Masonite hardboard
Covered aluminum strips
Screws
Decorative caps for screws
Vacuum
Decorative molding
Construction adhesive
Painter's tape
Paint
Paintbrush
Replacing RV Ceiling Paneling
Step 1
Strip the vinyl covering and glue off of the Lauan wood. Continue removing material until you get to bare wood. A sanding disk for a drill makes quick work of this task. If a sanding disk is not available, use sandpaper or a paint scraper instead. If there are places where the Lauan wood is rotted out and must be replaced, cut out the rotted area and replace it with new Lauan wood. Attach the new wood to the old using wood screws and aluminum strips, then continue to step 2.
Step 2
Measure the panels that require replacing and note all doorways and cabinets. Transfer all unusual cuts to the 1/8 inch Masonite hardboard. Cut the 1/8 inch Masonite hardboard to fit the panel areas.
Step 3
Join the Masonite hardboard at the seams with covered aluminum strips. This hides the rough edges of the seams and makes an attractive finish. Attach the aluminum strips using screws with decorative caps.
Step 4
Attach molding to the edges along walls, doors and cabinets. Molding can be glued in place with construction adhesive or screws can be used for a more secure installation.
Step 5
Vacuum the entire area to remove all sawdust and pieces of vinyl. Stick painter's tape along the edges of the Masonite hardboard where it meets the molding. Paint the molding. Remove the painter's tape after the paint has dried for 15 minutes.