


A hunter using a .22 would benefit from using a scope on his rifle. These rifles are usually used at short range, so a fixed four power scope would be sufficient for most hunters. But that doesn't mean a .22 should only have a cheap scope like the ones sold exclusively for .22s. A 1 inch diameter scope intended for a centerfire rifle works just as well on a .22. It is easy to find a 1 inch ring that fits the 3/8 inch scope base found on most .22 rifles, making it a simple matter to mount a bigger scope on your rifle.
Items you will need
Scope
Rings, 1 inch diameter with 3/8 inch tip-off
Gunsmith screwdriver set
Allen key set
Loosen the mount screw on each of the rings. Set the rings of the dovetail mount on top of the rifle so that the screws face to the right. Tighten the screws by hand, only enough to catch the grooves in the mount and hold it in place.
Remove the screws that hold the top strap of each ring and set the top straps aside. Note the orientation of the straps so you can put them back in their original positions. The rings will probably come with an allen key to fit the screws, but if not, use a properly fitting key from an allen key set.
Set the scope in the saddles of the rings, so that the windage adjustment turret points to the right and the elevation turret points straight up. If necessary, slightly loosen the mount screws on the rings and move them fore or aft for proper scope positioning.
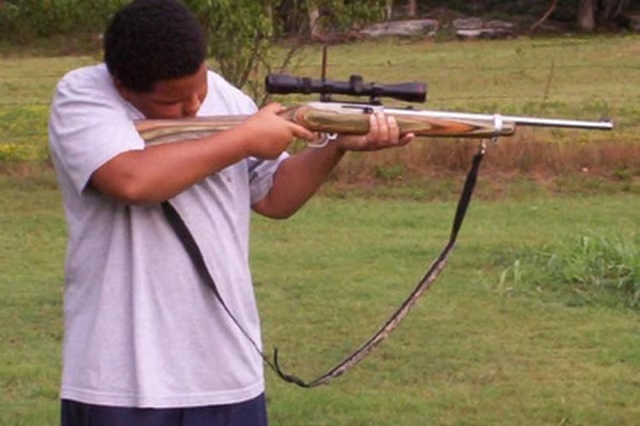
Raise the rifle to your shoulder naturally, and look through the scope. The eye relief should be correct, so that you see a clear, focused picture through the scope without moving your head. Also, the vertical post of the reticle should be straight up and down when the rifle is held level.
Lower the rifle from your shoulder carefully, holding the position of the scope. Tighten the mount screws on the rings, using a screwdriver.
Replace the top straps of the rings in their original positions, and start the screws back into their holes. Be careful to ensure the screws do not cross-thread.
Raise the rifle to your shoulder and again check the eye relief and level of the scope, to ensure it has not moved.
Tighten the screws in a cross pattern, moving from the left rear to the right front, then left front to right rear. Tighten a little at a time until the screws are firmly tightened.