


Rope climbing nets make excellent additions to obstacle courses and play areas in addition to being a staple in the maritime industry. This article will show you how to make a 3 1/2-foot by 5-foot rope climbing net with a 4-inch by 4-inch mesh pattern. The knot used on this climbing net is the Carrick Bend. This knot is ornamental but also very functional. The Carrick Bend, when under pressure, will bind, but not slip and it does not create any sharp bends in the rope-which can lead to premature rope failure.
Items you will need
12 pieces of 18 feet of 3/4 inch rope
Ruler
How to Make Rope Climbing Nets-The Carrick Bend
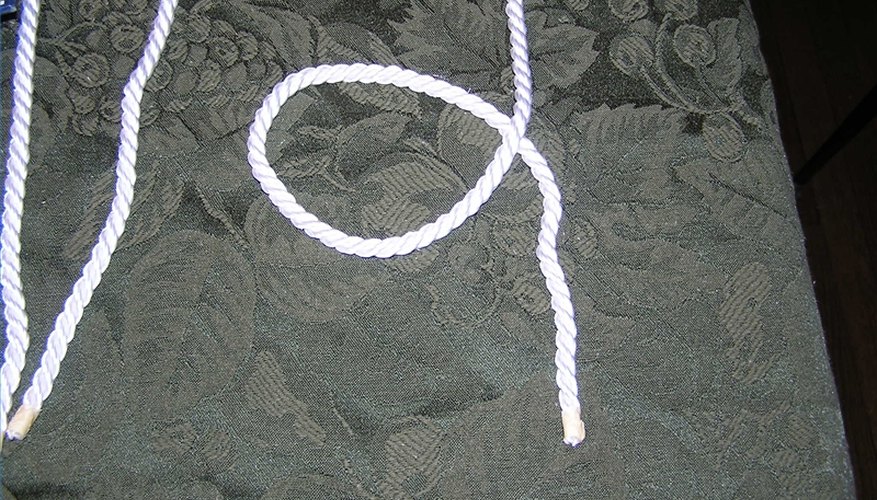
First loop of the carrick bend
Make the Carrick Bend. This knot uses two ropes. Lay two ropes parallel to one another. Create a loop in the right hand rope, with the tail going under the standing end of the rope.
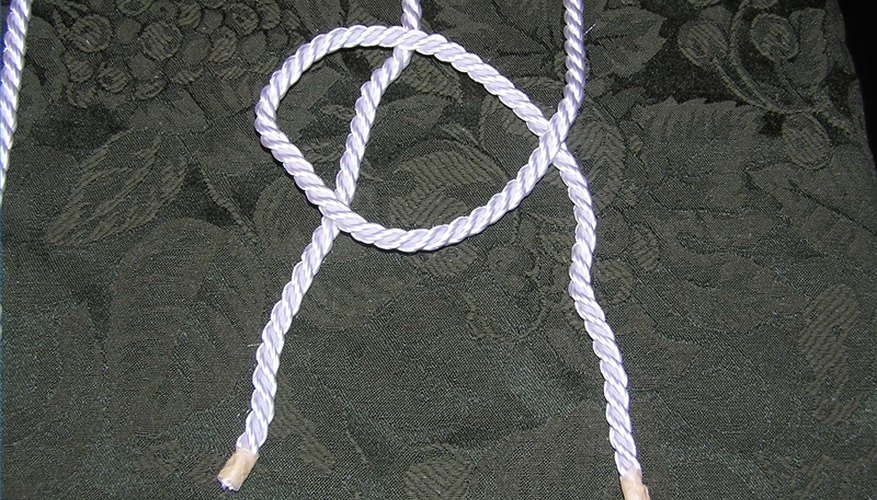
Placement of the left hand rope
Take the left hand rope and place it under the loop created with the right hand rope.

Standing ends of the ropes crossed
Bring the standing end of the left hand rope over the standing end of the right hand rope.

Left hand rope passed under tail of right hand rope
Bring the standing end of the left hand rope under the tail of the right hand rope.
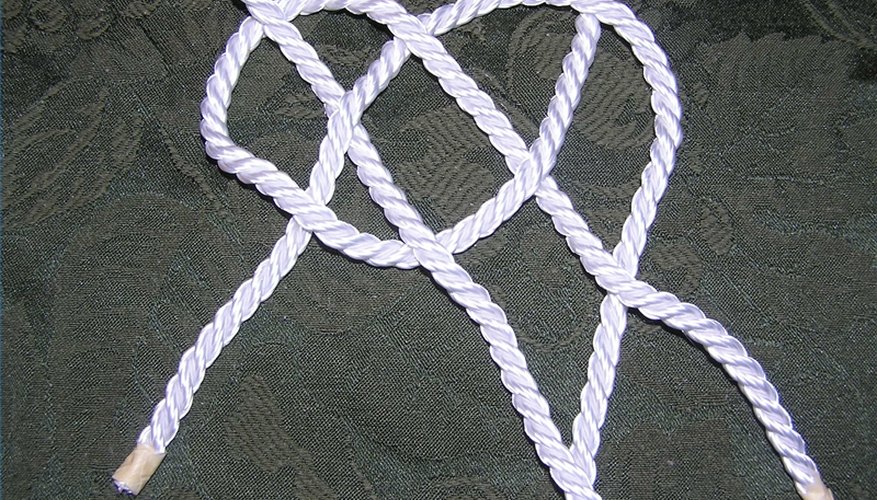
Left hand rope threaded through loop on right hand rope
Thread the tail of the left hand rope over the first side of the loop made in the right hand rope, under the tail of the left hand rope and back over the other side of the loop made in the right hand rope.
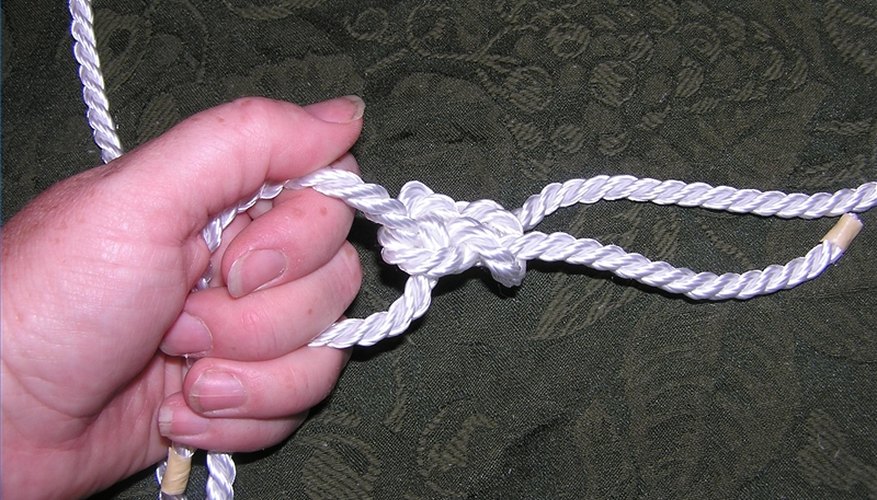
Left hand rope held in left hand
Tighten the knot by grabbing both ends of the left hand rope in your left hand and both ends of the right hand rope in your right hand and pull, working each end of the rope separately.
How to Make Rope Climbing Nets
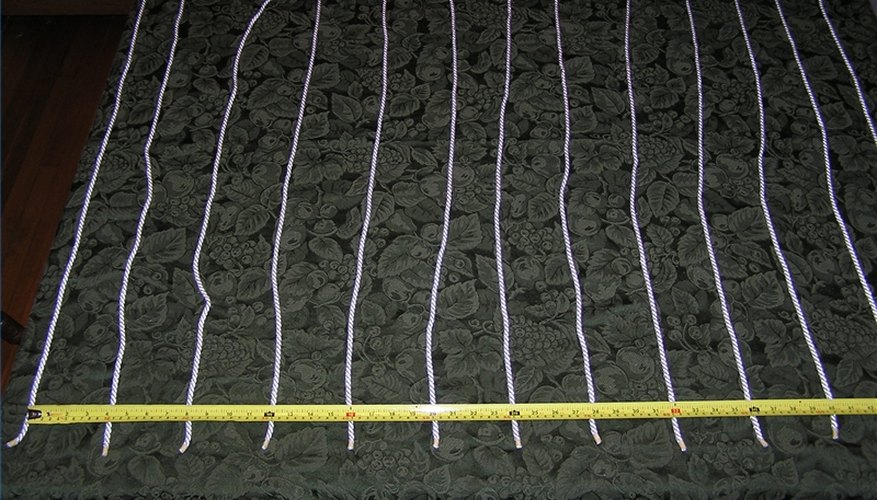
Rope laid out
Lay out the twelve lengths of rope, 4 inches apart, on your working surface.
First row of knots completed
Begin tying knots at the right end. Measure 4 inches up on the first two ropes on the right side of your layout. Tie the Carrick Bend. Repeat all the way across the rope layout, tying a total of six knots.
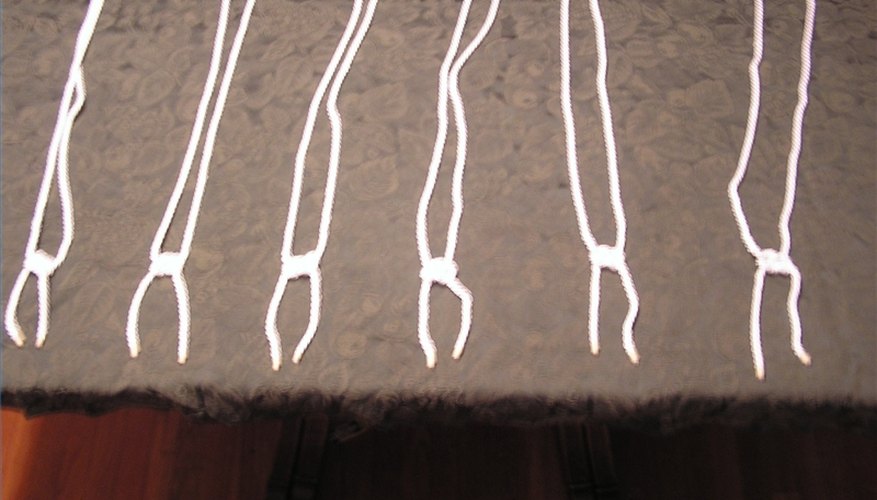
Second row of knots
To start the second row of knots, skip the rope on the right end of the layout, use the second and third ropes from the right. Measure 4 inches up on the second and third ropes and tie the Carrick Bend. Repeat all the way across the rope layout, tying a total of five knots.
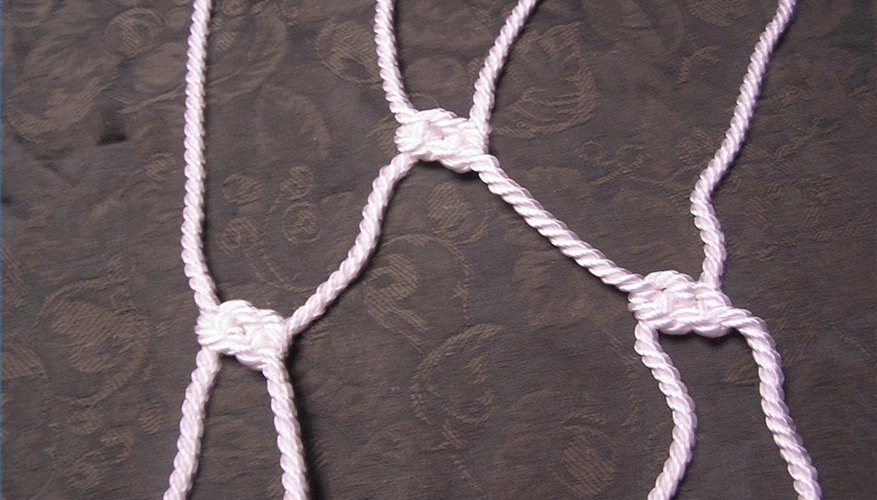
Working the end ropes back into the net
Include the end ropes that were not used in the second row, In the third row of knots. To tie the first knot, use the first and second ropes from the right. Measure 8 inches up on the first rope and 4 inches up on the second rope, tie the Carrick Bend. On the third and fourth ropes, measure up 4 inches on each rope and tie the Carrick Bend. Repeat this step until you have two ropes left. Measure 4 inches up on the eleventh rope and 8 inches up on the twelfth rope, tie the Carrick Bend.
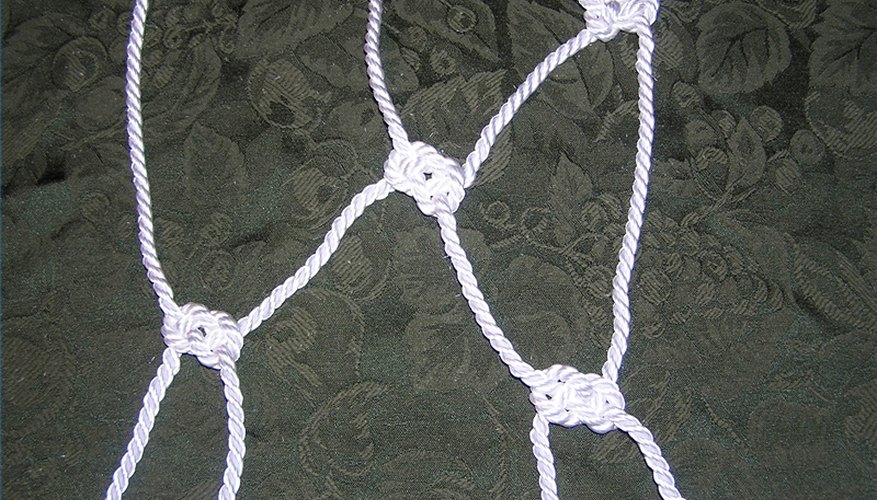
Repeat the knotting pattern, a row with all ropes used and six knots made followed by a row with only ten ropes used and five knots made until the rope ends.
Warnings
- Always use the properly rated rope for the weight that will be put on it.
Tips
- Secure the ends of your rope by drilling twelves holes in a 4-foot 1-inch by 1-inch board, threading the rope ends through and tying them off. This board can then be fastened to uprights.
- Some terminology to know: The standing end of a rope is the long end of the rope and is generally the end that you are not working with-when making the Carrick Bend on this project you will be directed to work with the standing end. With longer lengths of rope this would not be practical. The tail of the rope is the end that you are working with.
Warnings
- Always use the properly rated rope for the weight that will be put on it.
Writer Bio
Christy Flora has been writing professionally for more than fifteen years after winning her first awards for writing in the early 1980's. With a degree in Education, specializing in Organizational Leadership, Flora is an experienced, and published, author and editor. As a writer Flora has worked as an instructional designer spanning the genres of informational, educational and technical.