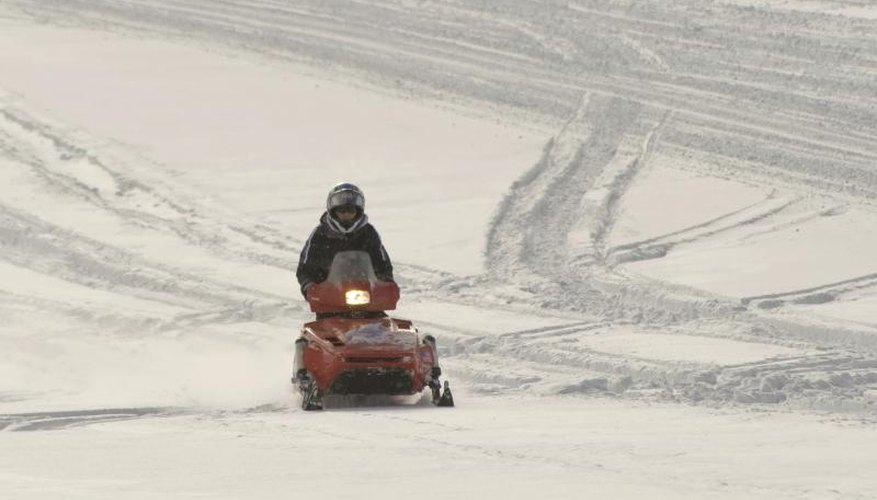
The operating conditions for a Yamaha snowmobile's engine are quite a bit harsher than those of a normal vehicle. That is why it is especially important to change the oil regularly and keep an eye on the oil gauge. At the very least, you should change the oil after the first 500 miles of use and every 2,500 miles after that. The oil should also be changed out at the beginning of each snowmobiling season.
Items you will need
OW-30 motor oil
Bucket or oil pan
Philips screwdriver
Cloth
Crescent wrench
Step 1
Park the snowmobile on a level surface. Push the parking brake switch to the left to secure the snowmobile in place.
Step 2
Start the snowmobile and let it run for 10 to 15 minutes before turning it off.
Step 3
Remove the four screws on the right cover. Repeat for the bottom panel and lower cover.
Step 4
Place a bucket or oil pan under the oil tank.
Step 5
Disconnect the oil level gauge coupler from the oil filler cap, and then remove the oil filler cap.
Step 6
Remove the drain bolt on the oil tank with a crescent wrench and allow oil to drain completely.
Step 7
Move the bucket or oil pan so that it is underneath the engine. Loosen the engine oil drain bolt with a crescent wrench and remove. Allow the oil to drain completely.
Step 8
Replace both drain bolts.
Step 9
Add 1.5 liters of OW-30 motor oil to the oil tank. Replace the oil filler cap.
Step 10
Start the engine. Allow the snowmobile to run for a few minutes and then turn it off.
Step 11
Pull the dipstick out of the oil tank and wipe it on a cloth. Reinsert it in the oil tank, then remove to check the oil level.
Step 12
Add oil as necessary to raise the oil level to between the "L" and "H" markers on the dipstick.
Step 13
Reinstall all detached parts.
Warnings
- Never fill oil past the "H" mark on the dipstick, as it can damage the engine and cause oil leaks.
References
Warnings
- Never fill oil past the "H" mark on the dipstick, as it can damage the engine and cause oil leaks.
Writer Bio
Michael Larkin has been writing since 2005. He has worked as a photojournalist for CBS affiliates in Spokane, Washington, and Boise, Idaho. He has also freelanced for ESPN and PBS. Larkin currently writes a wide range of material, including corporate newsletters, blogs and ad copy, as well as the occasional magazine article. Larkin holds a Bachelor of Arts in journalism/mass communication from Whitworth College.


