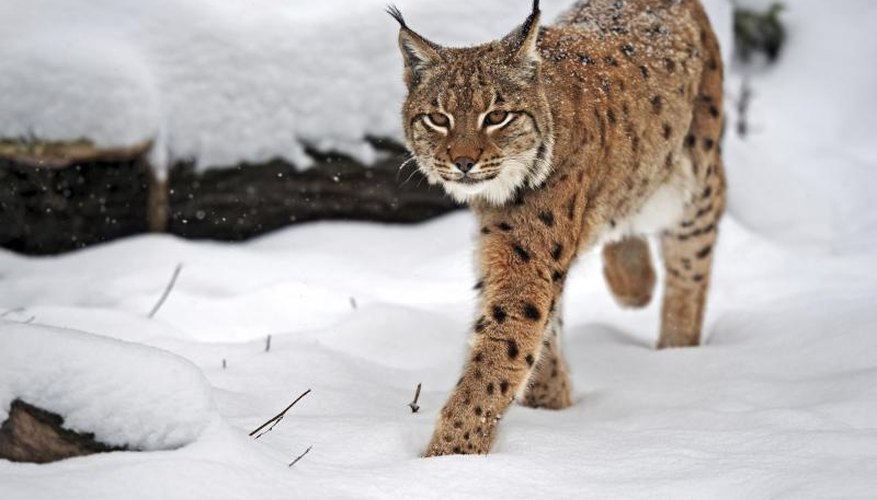
Skinning a bobcat requires a steady hand and basic knowledge of the animals' anatomy. The bobcat is a small cat, typically weighing between 10 and 30 pounds. The hide is valued for clothing, decoration and for taxidermy. Skinning and preparing the animal for a taxidermist is the most difficult process but bobcat hides are easier to work with than coyotes and other predators.
Prepare the Animal
Use a flat, clean work area for the skinning process. A sturdy table is ideal, preventing the need for bending and stooping. Place the bobcat on the table, belly down. Splay the legs to the sides and position the head face down. This aligns and exposes the spine for your dorsal incision.
Dorsal and Tail Incisions
Puncture the skin at the base of the skull with a sharp knife. Hold the knife blade upward with the tip point toward the tail. Slowly run the knife along the spine, cutting through the hide until you reach the base of the tail. Make an incision on the bottom side of the tail. Run the incision from the tip to the base of the tail.
Removing the Body
Peel the skin away from each side of the spine with your hands. The skin will naturally want to pull off the meat. Choose one side and continue peeling the skin back until it starts to stick. This typically happens around the neck, shoulders and hips. Use a sharp knife to separate the skin from the meat where it sticks. Continue separating the hide around the front shoulder, armpit and belly with your hands. Only use the knife when absolutely necessary. Pull the skin down the leg until you reach the base of the paw. Cut the foot off and leave it in for the taxidermist. Repeat around each leg to free the hide from the body.
Head and Tail
Pull the hide back on the tail, using the knife to separate the skin from the flesh. Continue until the tail is free. Pull the entire hide towards the head. Work the skin off the neck with your hands and knife. Continue removing the hide off the skull. Cut off the ears, leaving some flesh to prevent puncturing the actual ear. Maintain tension on the hide and cut between the flesh and hide on the eye sockets and snout. Work around the teeth with the knife until the hide is completely free. The hide is now ready for the taxidermist.
References
Writer Bio
Zach Lazzari is a freelance outdoor writer specializing in hunting, fly fishing and the general outdoors. He guided fly fishing trips for 10 years in Colorado, Alaska, Montana and Patagonia-Chile. Zach lives in Montana and splits time between the river and keyboard.


