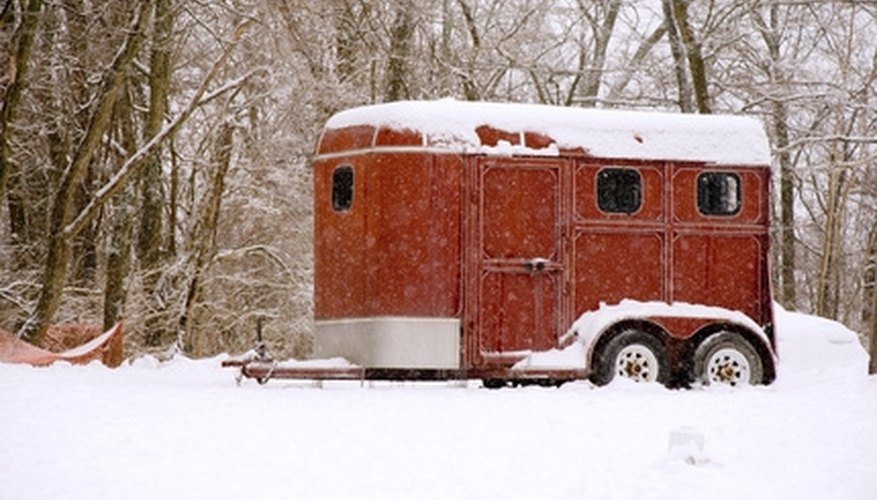


Camper trailers are expensive, but sometimes a used horse trailer is not. Horse trailers can be converted into camper trailers very economically if you do it yourself. Some people like the idea of re-use, some like the economy of it, and some prefer the lighter, narrower load that a converted horse trailer provides. Do-it-yourself conversion, while economical, requires carpentry, plumbing and electrical wiring. These building skills are required to complete the job. Also, this is a project must meet code requirements for living quarters. Schedule your inspections at each phase, so you won't spend extra time and money on do-overs.
Items you will need
Extension Cords
Generator
Air Compressor
Framing Nailer
Circular Saw
8-foot ladder
Electric drill
Reciprocating saw
Tape measure
Speed square
Chalk line
Chalk line clamp
Wood chisel
Carpenter's pencil
Framing square
Utility knife
Framing hammer
Cat's paw
Propane torch
Tongue and groove pliers
Hacksaw
Metal file
Basin wrench
Pipe wrench
Hard auger
Adjustable wrench
Tubing cutter
Closet auger
Plunger
Level
Duct tape
Circuit tester
Crescent wrenches
Socket wrenches
Drill and bits
Electrical tape
Needle-nosed pliers
Nut driver
Wire cutters/strippers
16 untreated boards, 1x4 and 5 feet long
Metal-wood glue
8 sheets ¼-inch plywood
8 sheets 4 fee x 8 feet sheet insulation
30 inches x 30 inches shower stall
Shower plumbing and fixtures
Low-profile chemical toilet (approximately 18 inches x 15 inches)
Single bowl aluminum sink
Small carousel microwave oven (minimum 15 amp)
4-foot overhead cabinet
21-inch camper oven/range
Small refrigerator
7 feet x 4 feet drop-down, single-bed platform with thick mattress
8 door hinges
3 feet x 3 feet drop-down kitchen table
5 feet x 2 feet x 2 feet wooden sofa-seat/storage box
80 square feet of linoleum
75 linear feet of quarter-round floor trim
For the purpose of this article, we'll assume a 12-feet trailer without a gooseneck.
Wire the trailer. Design a wiring plan that meets your needs for outside source power, lighting, refrigeration, microwave, television, and any other small or large appliance you plan to use. Complete the wiring after gluing the base for the interior wall (described in Step 3).
Finish the walls. Glue vertical 1x4x5 boards to the sides as the base for your finished interior wall. Wire the walls. Fill between the 1x4s with sheet insulation flush to the base. Nail the ¼-inch plywood onto the base. Sand, paint, or paper to your own specs.
Install the plumbing. This is simplified if the toilet, shower and sink are as close together as possible. If the trailer doesn't have a berth, the shower and toilet will generally go all the way to the front, adjacent to one another. The front door of the trailer will be on one side, and the sink can conveniently be installed directly across from the door.
Install the stove, gas tank and kitchen cabinet. An overhead cabinet with a microwave well is ideal. The stove can go under them. A vent hood to carry the stove's heat directly outside is essential.
Install the sofa-seat, table and bed. The sofa-seat is a box, with a lid, for storage. It is long and narrow, and when it is closed, it should seat two people directly across from a drop-down table. When the drop-down table is up, the drop-down bed should come down opposite the table, over the top of the sofa-seat. If you are looking in the back of the trailer, and the table is on the left, then the sofa-seat and drop-down bed will be on the right.
Install the linoleum on the floor.
References
Writer Bio
Stanley Goff began writing in 1995. He has published four books: "Hideous Dream," "Full Spectrum Disorder," "Sex & War" and "Energy War," as well as articles, commentary and monographs online. Goff has a Bachelor of Arts in English from the University of the State of New York.