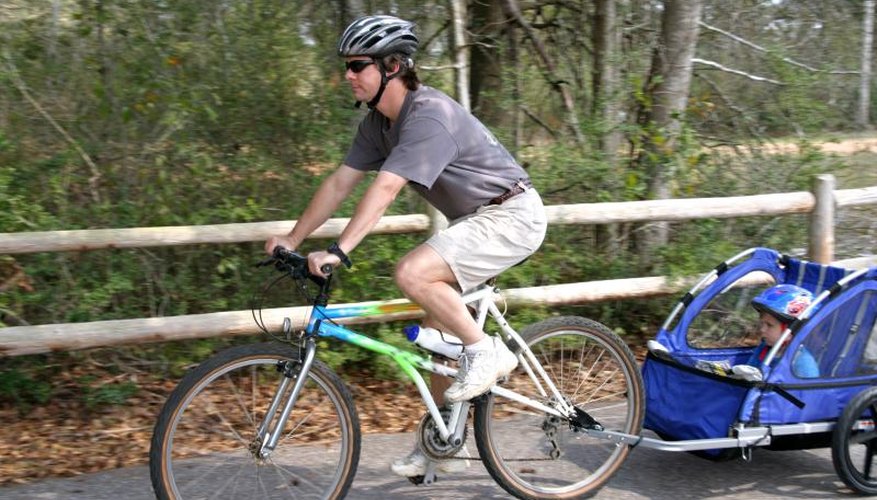
Schwinn bike trailers are light, convenient and sturdy. If you've lost the hook-up instructions, the installation process is pretty basic. It relies on a coupler that attaches to the bike's left rear axle. The trailer has a flexible connector -- a large spring -- that fits into the coupler. When turning or if you drop the bike, the spring absorbs the movement.
Items you will need
15 millimeter wrench
Schwinn coupler kit
Nut and Bolt Axle
Step 1
Remove the left-side, rear axle nut and washer from the bike with the wrench. Remove the tab washer from the packaging. The tab washer has a small, 90-degree tab.
Step 2
Place the tab washer on the exposed end of the axle. Face the tab toward the bike. The tab fits into a predrilled hole in the bike drop-out or frame. If the drop-out doesn't have a predrilled hole, swivel the washer upward to fit over or into the bike's axle slot or opening above the axle.
Step 3
Remove the coupler plate from the packaging. The coupler plate is a large and flat, oval-shaped piece with a large hole on one end. Fit the coupler plate onto the axle in a vertical position. The large hole should be at the bottom, the bell-shape of the coupler should face you. Pegs on the back of the plate fit into the holes on the washer.
Step 4
Place the washer and axle nut onto the axle and tighten to secure the plate to the axle.
Quick-Release Axle
Step 1
Open the quick release lever and remove the nut and spring from the right side of the axle.
Step 2
Pull the lever and skewer from the axle on the left side. Keep the spring on the skewer. Leave the wheel on the bike.
Step 3
Slide the skewer through the small hole in the coupler, and then through the washer. The tab on the washer should face the bike. The bell-shape of the coupler should face away from the bike.
Step 4
Insert the skewer through the wheel axle, with the washer and coupler in place on the skewer.
Step 5
Replace the spring and nut on the left side of the bike and tighten with your fingers.
Step 6
Push the quick-release lever to secure the plate to the bike. It may be necessary to rotate the nut on the left side to facilitate pressure for the lever. The pressure should be firm, but not too excessive.
Hook 'Em Up
Step 1
Insert the trailer's toe-bar -- the end with the big spring -- into the hole on the coupler. The trailer will be at a steep angle to the bike, which is fine, the spring will bend to align the trailer behind the bike.
Step 2
Twist the end of the toe-bar with your hands to align holes in it with holes in the coupler. When the holes align, slip the attached locking pin through the holes in both pieces to keep it from pulling free.
Step 3
Slide the attached metal safety loop over the end of the pin to secure it to the coupler and toe-bar. You will note stiffness, so it may take some force to bend it around the pin.
Step 4
Loop the attached, nylon safety strap around the bike frame. Look for the safety strap clip on the end of the nylon safety strap; hook it on the toe-bar ring attached to the toe-bar. Check everything again before riding.
Warnings
- Never leave home without putting on safety helmet on the kids and yourself.
Tips
- Don't attempt to place the trailer parallel with the bike to hook it up, allow it to angle away from the bike. After you hook everything up, roll the bike a few feet forward and the spring will automatically bend, allowing the trailer to align with the bike.
References
Tips
- Don't attempt to place the trailer parallel with the bike to hook it up, allow it to angle away from the bike. After you hook everything up, roll the bike a few feet forward and the spring will automatically bend, allowing the trailer to align with the bike.
Warnings
- Never leave home without putting on safety helmet on the kids and yourself.
Writer Bio
Specializing in hardwood furniture, trim carpentry, cabinets, home improvement and architectural millwork, Wade Shaddy has worked in homebuilding since 1972. Shaddy has also worked as a newspaper reporter and writer, and as a contributing writer for Bicycling Magazine. Shaddy began publishing in various magazines in 1992, and published a novel, “Dark Canyon,” in 2008.


