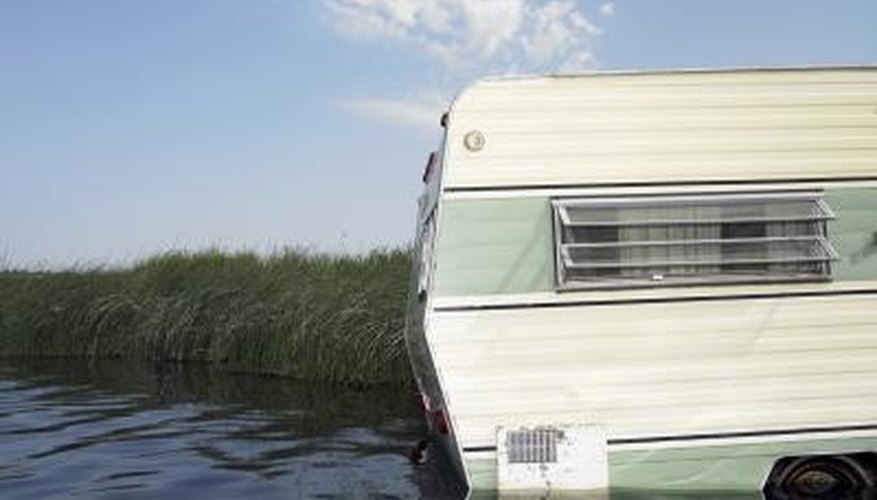
Whether it was damaged in transport or needs to be replaced due to rust, replacing the outside corner on your travel trailer is a fairly easy task. Outside corners add structural strength to your trailer, provide a seal to exterior wall siding and give the trailer a clean finished look. It is always a good idea to inspect the exterior of your trailer before you take it out for the first camping trip of the season, looking for any work that needs to be done.
Items you will need
Screwdriver
Work gloves
Silicone sealant
Step 1
Park your trailer in your garage or on a flat area in your driveway. Place wheel chocks in front of and behind the wheels to prevent the trailer from rolling.
Step 2
Remove the corner piece from the top and base molding using a screwdriver. At the top and bottom of the outside walls are molding strips; at the corners there are separate pieces that cover over the molding strips and the vertical corner molding. Once these are removed you will be able remove the corner molding.
Step 3
Inspect the corner molding, looking for any screws that may be holding it in place. Remove the screws and begin to pry off the corning, starting at the top. You should wear work gloves to protect your hands. Once the corner molding is removed, clean the surfaces on the two walls that meet at the corner. Allow them to dry before applying the new corner.
Step 4
Apply a bead of silicone sealant to both sides of the inside of the corner molding. Position the molding on the travel trailer. When it is in the correct position, replace any screws that were removed. Reattach the top and bottom corner moldings and your repair is complete.
Writer Bio
Since 2002 Mark Spowart has been working as a freelance writer and photographer in London, Canada. He has publication credits for writing and/or photography in Canada, The United States, Europe and Norway, with such titles as "The Globe & Mail," "The National Post," Canada News Wire, Sun Media and "Business Edge" magazine.


