


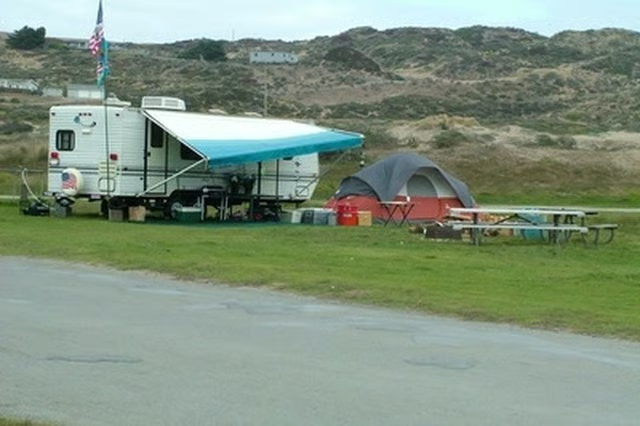
Rebuilding a travel trailer is a time-consuming but rewarding project. From a cost perspective it is usually less expensive to rebuild than to replace the trailer. Rebuilding gives you the opportunity to upgrade countertops, cabinets and appliances.
Items you will need
Tape measure
Cordless drill
Reciprocating saw
Hammer
Chisel
Floor scraper
Plywood
Peel and stick tiles
Wood putty
Putty knife
Wood screws
Broom
Vacuum
Paint
Paintbrush
Replacement lenses
Replacement lights
Replacement cushions
Replacement window treatments
Cabinet hardware
Park the travel trailer in a space where you will work on it. Rebuilding a travel trailer can take months; the parking space should be a protected spot with access to electricity. Check for any leaks under the trailer.
Examine the interior of the travel trailer. Identify all places where water, insects and rodents have caused damage.
Work from the floor to the ceiling. Check the floor for soft spots. Remove all carpeting and tile; a floor scraper makes this job easier. If the cabinets are in the way, remove them. Strip the travel trailer to the sub-floor.
Replace all rotten and damaged subfloor with plywood. Cut out the damaged pieces with a reciprocating saw or a hammer and chisel. If you plan on using the travel trailer in the winter, remove the subfloor and add insulation.
Cut new wood to replace damaged flooring. Fasten the wood to the frame with wood screws.
Reinstall the cabinets unless you plan on purchasing new ones. You can spruce up old cabinets up by filling in dings, dents and scratches with wood putty and then painting the cabinets. Replace the cabinet hardware with designer hardware for an upscale remodel.
Measure the floor and purchase peel and stick tile. Mark a center line horizontally and vertically. The intersection of these lines is the starting point for the tile placement. Start at this point and work your way outward.
Check the ceiling for leaks. Replace any damaged ceiling panels with luan or fiberglass panels.
Check all of the exterior lights for cracks and damage. Replace any cracked or chipped lenses. If the light fixture is rusted, corroded or not working, replace the entire fixture.
Upgrade the interior by replacing curtains, mattresses and cushions. You can give the interior a designer feel by color coordinating the curtains and cushions.