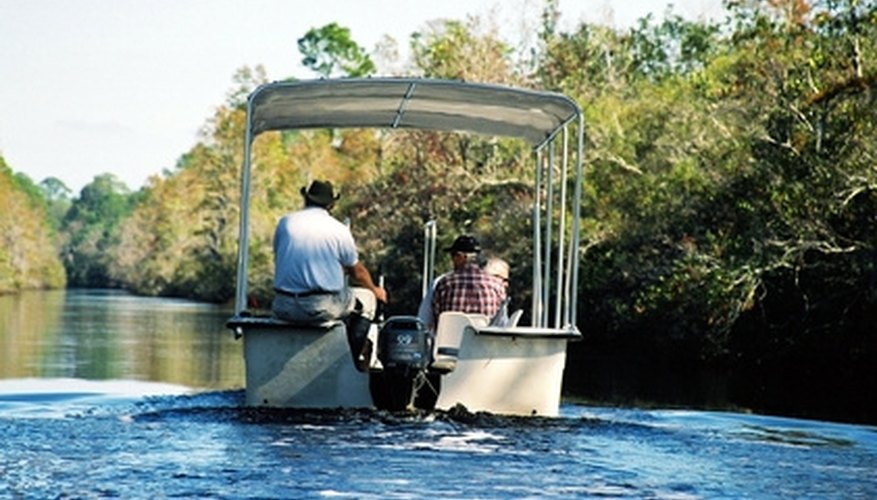


Pontoon boats maintain their buoyancy by means of air-filled aluminum pontoons placed beneath the deck. These types of boats are great for those looking for a low maintenance solution for recreational boating. Moreover, they are usually relatively inexpensive and lightweight, allowing for easy transport and storage. Unfortunately, because of their lighter structure, the aluminum material can be damaged easily. Not to worry, though. Repairing a damaged pontoon is a process that can be done in an afternoon.
Items you will need
Dish washing soap
Wire brush
Solvent
Rags
Pliers
File
Aluminum patch
Aluminum cutting materials, such as tin snips
Power drill
Marker
Snap rivets
Rivet hammer
Epoxy
Epoxy solution
Step 1
Bend or cut off any shards of aluminum that are jutting out of the repair area. Wash off the area to be repaired with a mixture of dish washing liquid and water. Scrub with a wire brush and remove any debris. When the area is dry, apply a solvent with a rag. You can purchase solvent formulated for cleaning aluminum or use a common solvent such as Acetone. This will prepare the repair spot for the epoxy.
Step 2
Measure the area to be repaired. You will need a patch of aluminum at least twice the size of the affected area. For example, if you have a 3-inch gash in the pontoon, you will need a piece of aluminum that measures 6 inches on each side.
Step 3
Fit the aluminum to the repair area. Bend the new piece to match the curves of the pontoon.
Step 4
Drill a hole in each corner of the patch. Match the hole to the size of the snap rivets. The size of the snap rivets will depend on the aluminum thickness of the pontoon. If they're too small, the rivets won't go all the way through the patch and into the pontoon; and if they're too large, they won't provide a good seal. Use caution when drilling the holes to avoid disturbing any of the contours in the aluminum patch. File down any rough edges.
Step 5
Place the aluminum patch over the repair area again. Mark where the rivet holes in the patch line up with the pontoon. Remove the patch. Drill holes into the pontoon at the markings.
Step 6
Coat the repair area on the pontoon with the epoxy solution. Allow this to dry, if needed, according to the manufacturer's instructions.
Step 7
Apply the epoxy sealant to the inside of the aluminum patch.
Step 8
Set the aluminum patch over the repair area, making sure to line up the holes in the patch with the rivet holes in the pontoon. Hammer in the snap rivets.
Step 9
Drill additional rivet holes through the patch, approximately 1/2 inch away from the outside edge and into the pontoon to strengthen the patch. Hammer the snap rivets into place.
Step 10
Apply additional epoxy to the patch edges. Allow this to dry.
Step 11
Test the pontoon for leaks.
Warnings
- Always use the proper safety equipment when working with power tools.
Tips
- Drying times and wet applications for epoxies depend on the specific type used. Always follow manufacturer's instructions.
References
Tips
- Drying times and wet applications for epoxies depend on the specific type used. Always follow manufacturer's instructions.
Warnings
- Always use the proper safety equipment when working with power tools.
Writer Bio
Nathan McGinty started writing in 1995. He has a Bachelor of Science in communications from the University of Texas at Austin and a Master of Arts in international journalism from City University, London. He has worked in the technology industry for more than 20 years, in positions ranging from tech support to marketing.