


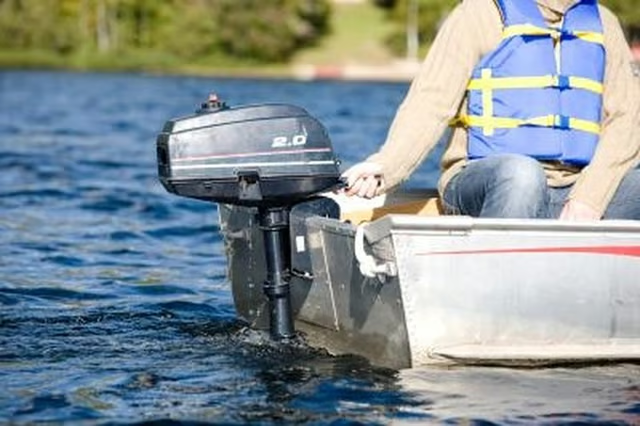
There is one thing that can go wrong with a tilt system: the pressure of the oil in the system is too low. Most often, the cause is low fluid level. Other less frequent reasons include a leak or a failure. A leak can be seen at hose junctions, around a piston or the hydraulic pump or from the control. Failures can occur in a piston, the hydraulic pump or the control. Replacing any of the failed parts involves nothing more than unbolting the failed device, bolting a new one in its place and connecting the hydraulic hoses.
Items you will need
Hydraulic fluid
Replacement hydraulic lines
Adjustable wrench
Pistons
Hydraulic pump
Tilt control valve
Safety glasses
Step 1
Open the hydraulic reservoir. The fluid should be level with the lowest threads on the filler neck. If not, add fluid until the fluid is at the lowest thread on the filler neck, move the tilt control up and down, check the level and, if necessary, repeat until the reservoir remains full or until you've cycled the system four times.
Step 2
Check the hydraulic lines for leaks, if the level in the reservoir doesn't remain full after being cycled up and down four times. Leaking hydraulic fluid may leak under any hydraulic line connection at the switch, the hydraulic pump, the reservoir or at the outboard motor tilt system. Tighten the connections with an adjustable wrench or replace the lines as needed.
Step 3
Look at the pistons that move the tilt system while your friend operates the control. If one or both leak, make sure the tilt system is in the "up" position, remove the bolts that hold each end of the piston, and replace the leaking piston.
Step 4
Watch the pump while a friend operates the tilt control, if the tilt system still won't operate. If parts aren't moving, the pump isn't working--disconnect the hydraulic lines, remove the pump's mounting bolts with a wrench, and remove and replace the pump. Reconnect the hydraulic lines and try cycling the tilt system again.
Step 5
Remove the tilt control valve, if all else is in order. The tilt control valve is an electrically activated hydraulic valve, controlled by a button on the throttle. Disconnect the electrical connections, disconnect the hydraulic connections and install the new switch in reverse order.