If there are soft spots in the transom of your boat, it may be time to reinforce the transom with a composite core material. The work is messy, creates toxic fumes, involves working with wood, paint, fiberglass and epoxy and generally makes for a full weekend of effort, followed by a week of watching paint and gel coat dry. If it has to be done, though, it should be attended to as soon as possible after you notice the soft spots. With a bit of planning, it can be relatively painless.
Items you will need
Marine plywood, 1/2-inch thick, for three or more full layers of plywood across the width of the stern
Sawzall or other reciprocating saw
Jigsaw
Drill and assorted bits
Palm sander and #000 grit sanding disks
00 and #000 grit sandpaper sheets
Two-part epoxy (resin and hardener)
Acrylic epoxy paint to match the color of your boat's stern
Gel coat (available from your boat dealer)
Several paint brushes
Short-nap paint roller
Fiberglass cloth
Caulking gun
Screwdrivers (standard slotted and Phillips)
Hammer
Wood screws, #12 x 1-1/2 inch
Wood chisel, 3/4 inch
10-foot measuring tape
How to Reinforce a Boat Transom
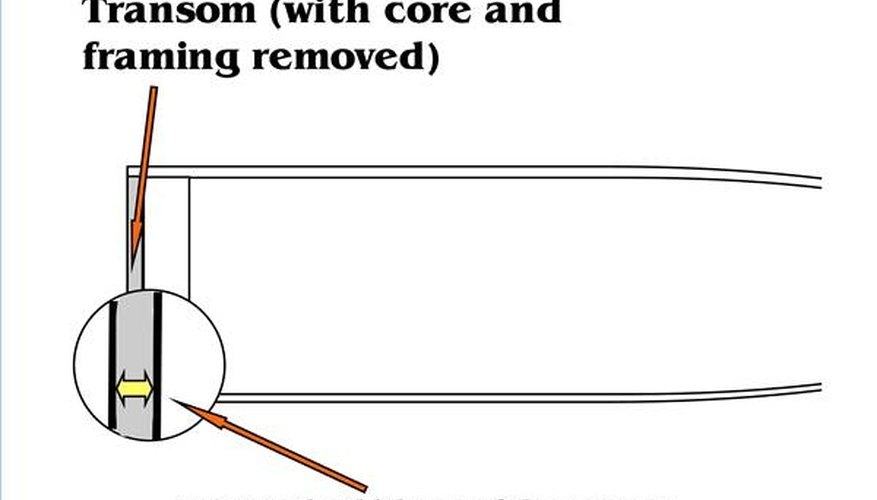
The Stern After Removing the Core and Frame
Measure the thickness of your transom. Remove the top rail of the transom with the screwdriver. Use the hammer and chisel to remove all the wood reinforcements and the fiberglass core. When you are finished, your transom should have the appearance of an empty envelope, waiting to be filled with reinforcing material.
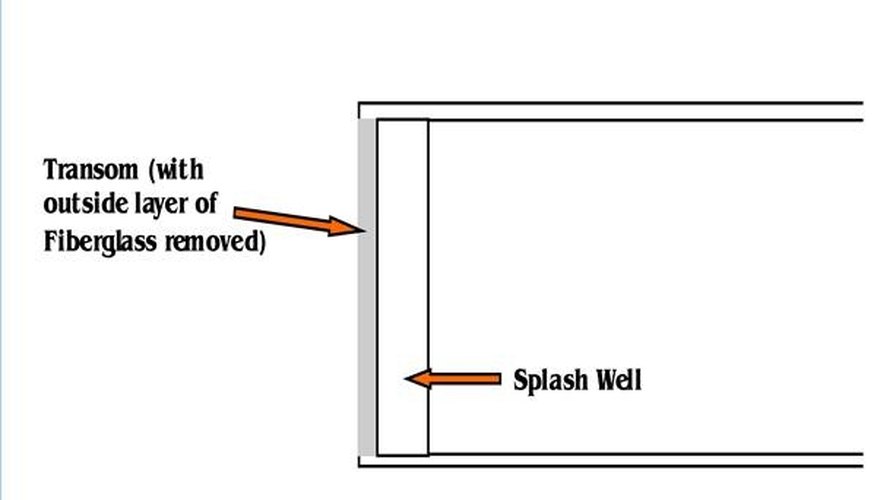
Transom, After the Outer Skin is Removed
Use the reciprocating saw to remove the fiberglass skin on the outside of the transom. Set this aside- reinstalling it will save hours of fiberglass work.
Use the measuring tape to measure the dimensions of the void created at the stern. Use the reciprocating saw to cut the first sheet of marine plywood to these dimensions. Most transoms are 1 1/2 inch to 2 inch thick. Cut as many sheets of plywood as are necessary to fill the transom void and fit snugly.
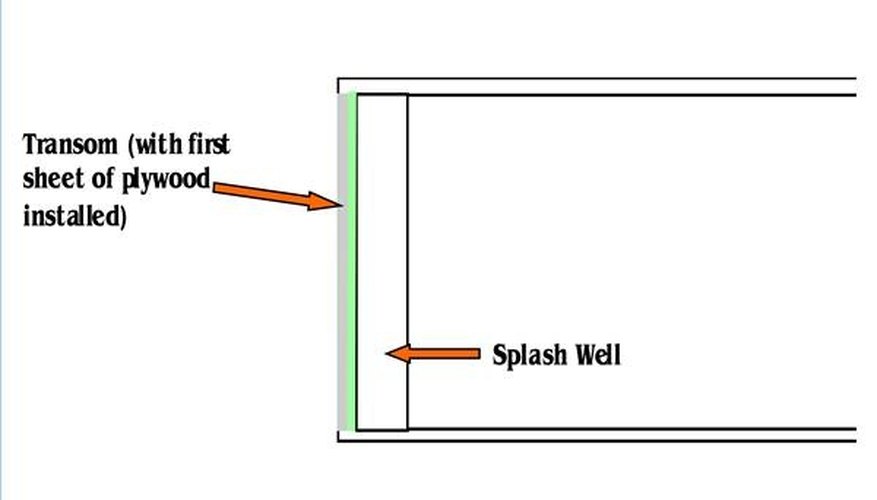
Installing the Plywood Reinforcement
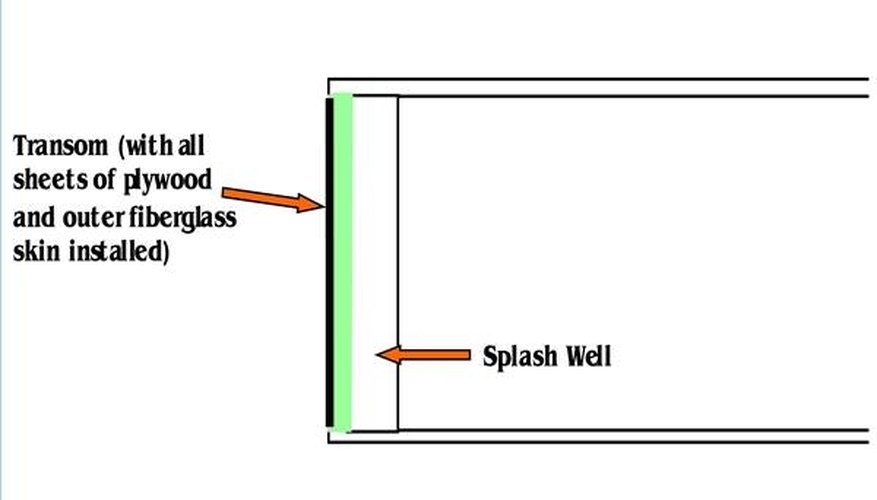
Use the palm sander to rough up the the fiberglass inside the transom void and the surface of the edges of the first sheet of the cut marine plywood. Mix the two-part epoxy and apply a thin coat to the inside of the void and all surfaces of the first sheet of the cut plywood with the paint roller. Apply a thick bead of epoxy on the sides and bottom of the hull in the void where the plywood will set. Set the first cut sheet of plywood into place against the back of your boat's splash well and remove any excess epoxy that squeezes out around the edges. Repeat this process, screwing each successive sheet of plywood to the previous sheet with wood screws, until the void is filled with snugly fitting sheets of plywood, all epoxied around the sides and bottom.
Finished Project
Rough up the edges of the outer fiberglass skin you removed from the transom with the palm sander. Apply a heavy coat of epoxy to the last sheet of plywood you used to fill the transom void, and replace the outer fiberglass skin of the transom, using wood screws around the edges to attach the fiberglass to the plywood. Use the drill to drill the appropriate holes through the plywood, as indicated by the access holes in the outer transom skin. Apply epoxy to the edges of the outer fiberglass skin of the transom and over the heads of the screws holding the skin to the plywood, and lay a strip of fiberglass cloth over the epoxy. Once the fiberglass has cured, repeat this step until four layers of fiberglass and epoxy have been applied. When the fiberglass has thoroughly cured, sand the surface with #000 sandpaper until it is level with the rest of the transom surface. Paint with acrylic paint. When the paint has dried, apply the gel coat. Allow the gel coat to dry thoroughly and wax the surface.
Warnings
- Working with power tools, epoxy and paint can be dangerous or hazardous to your health. Exercise appropriate caution.
Tips
- Do not mix the epoxy until you are ready to use it. When you are running the bead to fill any voids when you set the plywood in, you can use a caulking gun (not the frame and removable tube type you get a discount stores, but a real caulking gun, available at paint stores) to make the bead more uniform and useful.
Warnings
- Working with power tools, epoxy and paint can be dangerous or hazardous to your health. Exercise appropriate caution.
Writer Bio
Will Charpentier is a writer who specializes in boating and maritime subjects. A retired ship captain, Charpentier holds a doctorate in applied ocean science and engineering. He is also a certified marine technician and the author of a popular text on writing local history.


