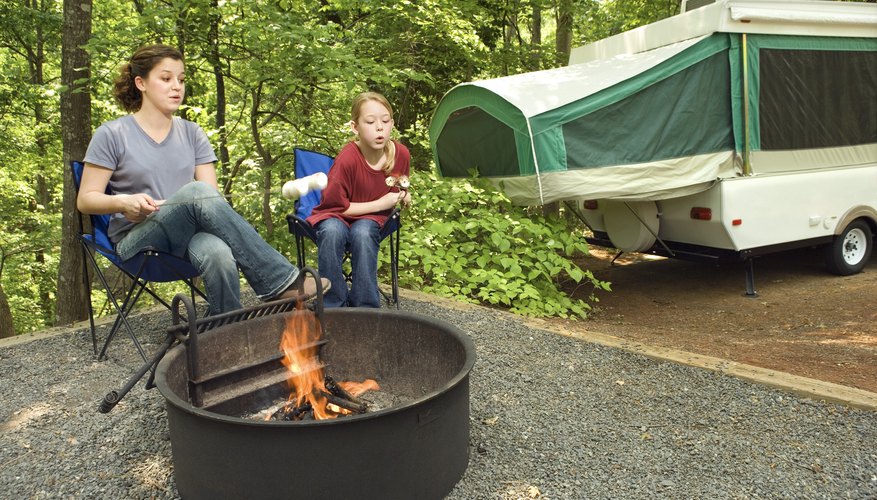
Replacing the lift cables in a Jayco pop-up camper is simple but labor intensive. The cable system operates on a single winch. The winch sits on the front and controls a separate cable for each corner of the trailer. Cranking the winch handle pulls the cable through the pulleys and lifts a rod on each corner. The rods lift and hold the roof in the raised position. Replacing the cables requires new materials and access to the pulleys and winch system.
Screwdriver
New cables
Cable cutters
Cable crimps
Pliers
Inspect the pulleys while the track system is exposed. Replace bent and broken pulleys that may jam the cable during the lifting process.
Prop the roof in a stable position with the 2-by-4 lumber. The roof will fall and may cause injury if not properly supported.
Manually raise the roof with two or more people. Place 2-by-4 pieces of lumber between the frame and roof on each corner. Use at least six pieces of lumber to hold the roof upright. The roof raising is necessary to access the interior cables, tracks and pulleys.
Enter the camper and locate the access panels along the floor. Pry the panels off the wall with a screwdriver to expose the track and pulleys. Also remove the large panel to expose the winch spool and distribution block. Use a screwdriver to remove the panel screws covering the winch.
Inspect the main cable that runs from the winch spool to the distribution block. If damaged, use cable cutters to remove the cable from the winch and distribution block. Measure the length of the cable and cut a new cable to match the length. Wrap the new cable around the winch to create a loop. Wrap a cable crimp around the loop and smash the crimp with pliers. Repeat the process around the distribution block loop.
Select one of the secondary cables connected to an eye bolt on the distribution block. Cut the cable off the eye bolt with cable cutters. Follow the cable through the track until you reach the termination point at the drive slug. Memorize the route through the pulleys and cut the cable off the drive slug. Remove the cable from the track and cut a new cable to match the length.
Wrap one end of the new cable around the eye bolt to form a loop. Slide a crimp over the loop and smash the crimp to complete the connection. Feed the opposite end of the cable through the track and around the pulleys until you reach the push rod. Feed the end through the eye on the push rod and form a loop. Slide a crimp over the loop and smash the crimp with pliers to complete the cable replacement. Repeat the process for each of the remaining three cables.
Test the winch to ensure the cables properly raise and lower the roof.
Items you will need
Tips
Warnings
References
Tips
- Inspect the pulleys while the track system is exposed. Replace bent and broken pulleys that may jam the cable during the lifting process.
Warnings
- Prop the roof in a stable position with the 2-by-4 lumber. The roof will fall and may cause injury if not properly supported.
Writer Bio
Zach Lazzari is a freelance outdoor writer specializing in hunting, fly fishing and the general outdoors. He guided fly fishing trips for 10 years in Colorado, Alaska, Montana and Patagonia-Chile. Zach lives in Montana and splits time between the river and keyboard.


