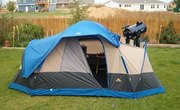


Once you have accumulated the essentials, camping is a relatively inexpensive hobby. However, tents are significant purchases that often cost several hundred dollars. Fortunately, you can construct your own tent for a fraction of that price. While such tents are not luxurious, they shield you from the elements and disassemble easily, making them convenient to pitch, pack and store.
Items you will need
PVC pipe, 1-inch-diameter
Tape measure
Permanent marker
Hacksaw
2 three-way PVC corner connecters
4 90-degree PVC connectors
3 tarps, 6-foot-by-8-foot
Scissors
Nylon cord
4 tent stakes
Zip ties
Rubber mallet
Duct tape (optional)
Step 1
Measure, mark and cut three 8-foot-long sections of PVC pipe and four 3-foot-long sections of PVC pipe using the tape measure, marker and hacksaw.
Step 2
Place a three-way connector on each end of an 8-foot-long pipe. This will serve as the spine of the tent. Attach two 3-foot-long pipes into each of the open receptacles of the three-way connectors. The spine should now have four, angled legs.
Step 3
Place a 90-degree PVC connector on each of the four legs. Insert the remaining 8-foot-long sections between the connectors, to form the bottom border of each side panel.
Step 4
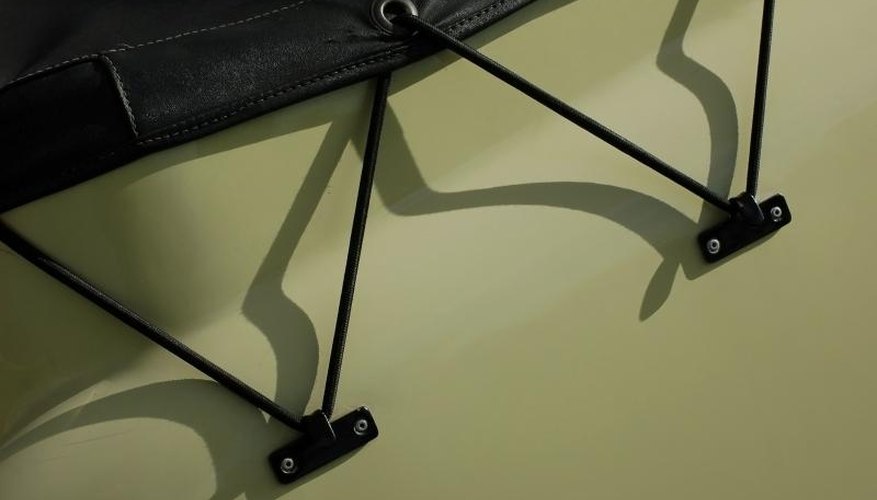
Drape the tarp over the frame’s spine. Thread the zip ties through the grommets of the tarp and around the PVC pipes. Cinch the zip ties until they are tight and then cut off the excess with the scissors.
Step 5
Measure and cut four 2-foot-long lengths of nylon cord. Tie one cord to each stake. Drive the tent stakes into the ground using the mallet, placing them near the tent’s four corners. Tie the free end of each cord to the corresponding corner of the tent’s frame.
Step 6
Use the tape measure to help you fold the second tarp into a rectangle approximately 6 feet and 10 inches long by 4 feet and 1 inch wide. This tarp serves as the ground cloth; place it inside the completed tent. It is important that the ground cloth is slightly smaller than the footprint of the tent – if the ground cloth extends beyond the perimeter of the tent, rainwater can roll under the tent’s walls, soaking everything inside.
Step 7
Measure, mark and cut a 3-foot-by-3-foot square from the third tarp. Fold the tarp in half diagonally and cut along the fold to create two like-sized triangles. Measure and cut six 1-foot-long pieces of cord. Using the cord, tie the tarp to the frame at each corner by passing the cord through the grommets. To enter or exit the tent, untie one of the bottom corners.
Tips
- If you want to make the tent more portable, you can cut the 8-foot-long pipes in half. When you want to pitch the tent, connect the cut sections together with inline connectors.
- If the tarp does not have grommets, you can use Velcro instead. Apply one side of the Velcro to the edge of the tarp and apply the other to the PVC pipes. Use commercial-grade Velcro, which will keep the tarp suitably secure, even in inclement weather.
- If you like, use duct tape to keep the ground cloth’s edges together and sealed, but this is not necessary.
References
Tips
- If you want to make the tent more portable, you can cut the 8-foot-long pipes in half. When you want to pitch the tent, connect the cut sections together with inline connectors.
- If the tarp does not have grommets, you can use Velcro instead. Apply one side of the Velcro to the edge of the tarp and apply the other to the PVC pipes. Use commercial-grade Velcro, which will keep the tarp suitably secure, even in inclement weather.
- If you like, use duct tape to keep the ground cloth’s edges together and sealed, but this is not necessary.