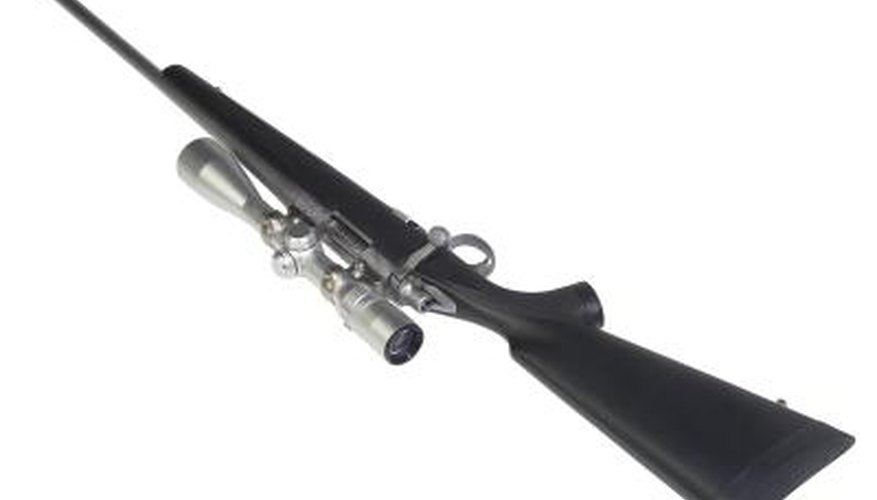


Installing a bipod on your rifle can greatly enhance your accuracy while hunting or target shooting. Keeping a rifle steady on target can be a challenge when you’re holding your rifle by hand. Any movement, no matter how small, affects the stability of the rifle. With the bipod attached, your rifle is supported by a static source, increasing the shooter's ability to keep it steady. Modern bipods are attached to a sling swivel stud on the stock and are adjustable for height.
Step 1
Remove the sling swivel from the front stud affixed in your stock. Most sling swivels can be removed by simply pressing one side of the swivel, which unlocks the swivel’s retention pin allowing you to remove it from the stud. If your rifle is not equipped with a stud, you must either install one or attach a stud adapter to your rifle.
Step 2
Loosen the screw on the bottom side of the bipod, releasing tension from the bipod’s clamp.
Step 3
Place the clamp on the stud--the retention pins located in the clamp’s interior should insert into both sides of the stud’s hole.
Step 4
Tighten the screw on the bottom of the bipod, causing the clamp to secure on the stud.
Step 5
Place the sling swivel--that you originally removed--onto the stud located on the underside of the bipod. This will allow you to still use your rifle’s sling.
Writer Bio
Peter Timm has been writing since 2002 for both print and online publications. Timm earned a Bachelor of Arts from the New York Institute of Technology in 2008 and emerged a technically astute writer.