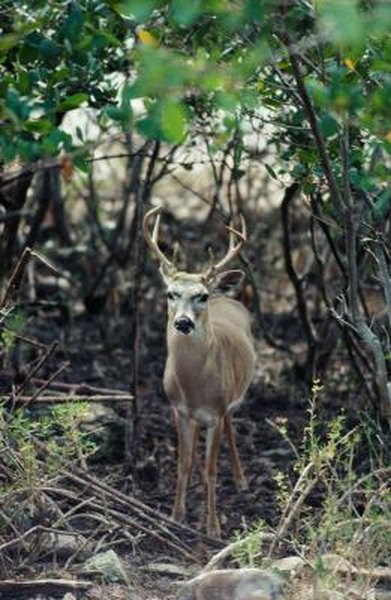


When out hunting for deer, your scent can be detected from a very far distance. This will often keep the deer from heading to your hunting spot or tree stand. Cover scents can help you blend into the environment and make your scent undetectable to the deer, and you can create them out of natural materials. Acorn scents not only are attractive to a deer, but will also help mask your scent. Homemade acorn scents are easy to prepare with a few simple kitchen tools.
Items you will need
Acorns
Pot
Stove
Potato masher or muddling stick
Cheesecloth or fine mesh strainer
Water
Container
Spray bottle
Gather up acorns from the ground while you are out scouting for deer trails. Gather at least one pound.
Put the acorns in a pot and cover with water. Place the pot on the stove and bring the acorns to a boil. Boil for 30 minutes or until the acorns are soft to the touch. Turn off the stove and let the acorns cool.
Smash the acorns using a potato masher or muddling stick. Turn the stove back on and boil the acorns again until the water becomes a very dark brown color.
Strain the acorns through a cheesecloth or a fine mesh strainer into a secondary container. Pour the acorn water into a spray bottle and use it to apply the acorn scent to your hunting gear. The acorn scent will last for approximately 30 days before you need to make more.
Warnings
- Hunt only in areas where hunting is allowed.
- Ensure you have a valid hunting license at all times when out hunting.
Tips
- Other nuts such as wild peanuts are also a favorite for deer.
- Pine needles can be boiled as an alternative cover scent, using this same process.
- Apply the scent to your hunting gear thoroughly before every hunt. The scent will last all day long; even though you may not be able to smell it, the deer surely will.
- Wash your hunting gear as you normally would after every hunting event.
- You can also bring the scent along with you and apply it if you're hunting over a weekend.
- Spray the scent on tree trunks near your tree stand. This can draw deer right to your hunting spot.
References
Tips
- Other nuts such as wild peanuts are also a favorite for deer.
- Pine needles can be boiled as an alternative cover scent, using this same process.
- Apply the scent to your hunting gear thoroughly before every hunt. The scent will last all day long; even though you may not be able to smell it, the deer surely will.
- Wash your hunting gear as you normally would after every hunting event.
- You can also bring the scent along with you and apply it if you're hunting over a weekend.
- Spray the scent on tree trunks near your tree stand. This can draw deer right to your hunting spot.
Warnings
- Hunt only in areas where hunting is allowed.
- Ensure you have a valid hunting license at all times when out hunting.