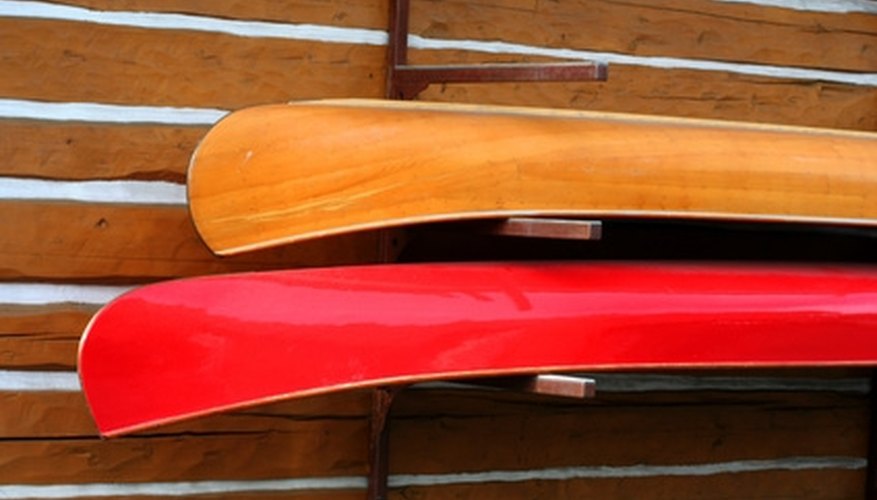
Before you can make a fiberglass, cedar-epoxy or composite canoe, you have to have a canoe mold. Unless you are a proficient marine designer or have a good design to work from, you may not want to just “eyeball” your mold design. Too much or too little freeboard, rocker, width, length or tumble-home can leave you with a canoe that’s unstable and tipsy. Having a good design specification to work from, however, can help you build your mold.
Items you will need
Sheets of 5/8-inch plywood
2 16-foot-long 2-by-6’s
2 10-foot-long 2-by-4's
2 sawhorse clamps
Sabre saw
Canoe Mold Station templates (order on-line)
1 box of 3-inch wood screws
1 box of 1 1/2-inch wood screws
50 thin (1/8-inch) 2-inch-wide plywood strips, 10 feet long
Power sander
16-foot-long 1-by-1 wood strip
Wood filler
Putty knife
Turn a 16-foot 2-by-6 on edge and clamp a sawhorse leg 5 feet from each end. Cut four 2-foot-long 2-by-4’s and nail them into the sawhorse clamps. Set the assembly up on the legs, and nail the other 2-by-6 flat on top. This is the strongback to which the stations will be attached like the skeleton of a prehistoric beast.
Trace the shapes of the canoe mold station templates onto the plywood sheets, and cut them out. Cut a notch the width of the 2-by-6 and 7 inches deep into the flat side of each station mold. Set the stations in place along the strongback, spaced according to the plans that came with the templates.
Cut 5-inch-long 2-by-4 blocks, and screw to the top of the strongback on either side of each station mold. Screw the station molds to the 2-by-4 supports.
Mark the pattern of the bow and stern templates onto plywood. Cut them out with the saber saw. Screw the templates perpendicularly to the last station mold on each end. Cut 2-by-4 keeper blocks to hold the base of the end templates in place. Screw everything in place. This is enough of a canoe mold to make an epoxy cedar strip canoe. If you are planning a fiberglass, Kevlar, wood canvas or traditional ribbed cedar strip canoe, you’ll have to cover the mold by adding plywood strips to form a more complete outside shape.
Screw thin plywood strips longitudinally starting at the bow and working toward the stern. Screw row after row in place. Stagger the strips so the ends don’t line up. Pre-drill all the screws so the heads are level with the surface. Glue a 1-by-1 strip down the length of the bottom, and then sand it down to the keel shape desired. Pre-drill screw holes, and screw the keel in place for extra strength.
Fill gaps between the strips with wood filler, and smooth it with a putty knife. When dry, sand the hull smooth. Paint the mold with a thick layer of epoxy varnish. When building a fiberglass or Kevlar canoe, you will have to cover the mold with wax so it will release the boat when you are through.
Warnings
- Wear safety glasses when working with power tools.
References
Warnings
- Wear safety glasses when working with power tools.
Writer Bio
Tom King published his first paid story in 1976. His book, "Going for the Green: An Insider's Guide to Raising Money With Charity Golf," was published in 2008. He received gold awards for screenwriting at the 1994 Worldfest Charleston and 1995 Worldfest Houston International Film Festivals. King holds a Bachelor of Arts in communications from Southwestern Adventist College.


