
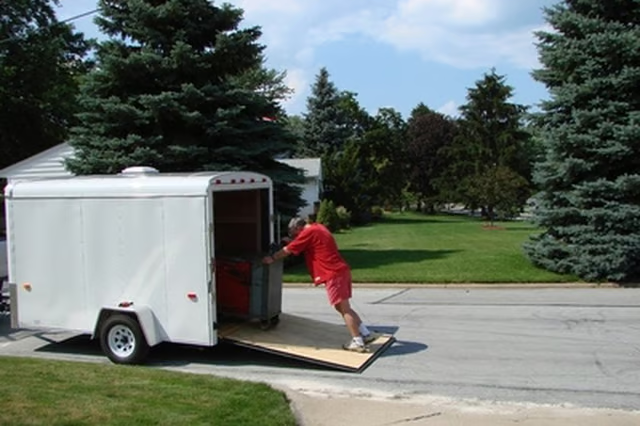


Enclosed trailers are often used for camping, portable shops, riding toy transport, race car transport and crafts. Operating AC appliances or tools requires installing AC outlets, wiring and a breaker box. Wire it to be expandable and flexible, so that you won't have to rework it later to meet various circumstances. You might want to add a generator later, and the need will arise to plug it into campground "shore" power.
Items you will need
25 feet of 30 amp RV power cord with plug
RV electrical cable hatch
Exterior sealing putty
Breaker box with 2 15-amp circuits
50 feet of plastic 1-inch electrical flex conduit
Box of conduit straps
100-piece box of 3/4-inch hex-washer-head, self-drilling sheet metal screws
50 feet of Romex 12-2 house wiring
Wire nuts
Six plastic outlet boxes
Six type B NEMA 5-15 GFCI duplex outlets with cover plates.
Electric drill with 1/4-inch socket driver
Hole saw
Utility knife
Wire cutter/stripper
Hole-saw a place for the RV power cord hatch on the driver side of the trailer. Customary entrance points are upper rear or lower front. Install the hatch using the gasket supplied with the hatch, or use RV exterior sealing putty.
Install the breaker box near the entrance point. To the left and right side walls near the ceiling, screw down plastic junction boxes using the drill with a 1/4-inch socket -- one box at each corner, one in between on each side. On the end boxes, break out one conduit circle. On the other boxes, knock out a circle on each side.
Measure and cut flex conduit pieces to fit between junction boxes and between the breaker box and both entrance boxes, so the ends protrude 1/4 inch in through the knock-out holes. Label the pieces for location. Each side run of the trailer will have its own breaker, so the passenger-side run will span the roof to the breaker box.
Cut Romex for each cable run, making each piece 12 inches longer than its conduit. Run the cable pieces through their conduits, letting 6 inches hang out on each end. Thread cable and conduit through junction-box holes, letting the wire dangle out the front of each box. Screw conduit straps down over the conduit every 12 inches and 6 inches from each junction box.
Cut 8-inch cable pigtails for all but the end boxes. Split and cut away 3 inches of outer jacket on each cable end, including the pigtails. Strip 3/4 inch of insulation from all wire tips. Wire-nut ingoing, outgoing and pigtail black-jacket wires together. Repeat with white or gray wires. Repeat with bare or green wires. End-boxes do not have pigtails or outgoing wires. Tug lightly at the wires to test connection strength.
Loop and tighten down white or gray wire end under the gold-screw neutral side of the outlet terminal at each box. Black wires screw down under hot-side silver screws. Bare or green wire fastens under the green screw that feeds the round ground socket. Attach the socket assembly to the box and attach the finishing plate.
Insert the 30-amp RV cord through the hatch from the outside, and into the breaker box. Screw all bare or green wires down under the ground bus in the breaker box, together with the green wire from the cord. Wire-nut all white or gray wires together.
Connect each black wire to one side of a breaker. Wire-nut the black wire in the cord to black wires from two 8-inch pieces of Romex. Connect each black Romex wire to an empty breaker terminal. Close the breaker box.
Use an adapter to plug the 30-amp cord into a standard outlet.