


The Atwood RV water heater is one of the most popular brands installed in an RV, which typically has a small six-gallon hot water heater. You would need to replace it if you choose to upgrade to a larger hot water heater, if the tank collects a heavy calcium build-up or if the tank bursts, which can occur when a filled tank becomes frozen. Removing and replacing an Atwood hot water heater can be performed in a short period of time. Most propane hot water heaters can be removed and replaced in the same manner.
Items you will need
Screwdriver
Thread seal tape
Pliers
Sealant
Remove the Old Heater
Step 1
Locate the plug or pull valve on the Atwood RV water heater. Drain the hot water tank.
Step 2
Locate the hot water heater access panel on the exterior of the RV. Turn the water cut-off valve to the “Off” position and turn off the propane tank(s).
Step 3
Locate the rear hot water heater access inside the RV. It is generally located in a cabinet beneath or near the kitchen sink. Remove the screws in the rear access cover with a screwdriver.
Step 4
Disconnect the propane intake. This should be done from the exterior access panel. Locate the copper tubing connected to the unit.
Step 5
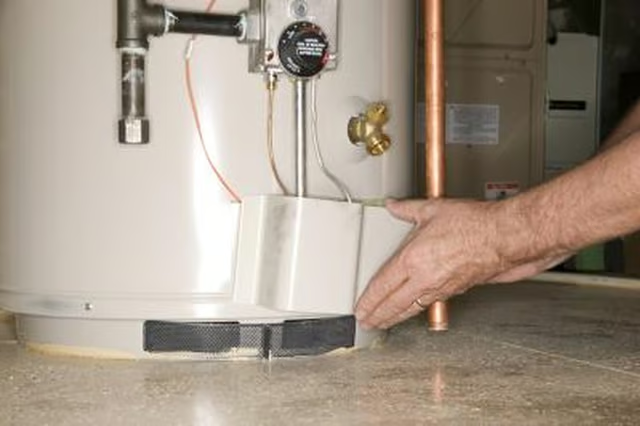
Use a screwdriver to remove all the screws securing the hot water heater. Remove the water hoses. You may need pliers to loosen them for removal. Avoid damaging the plastic parts. Any remaining water will drain from the hot water heater once the hoses have been removed.
Step 6
Remove the water heater through the exterior access panel.
Install the New Heater
Step 1
Remove the fittings and any previously applied sealant. Apply thread seal tape.
Step 2
Place the new hot water heater partially inside the access panel. Reconnect the water hoses and use a sealant on the mounting flange. Silicone or caulk would be acceptable sealants.
Step 3
Place the water heater inside the compartment. Replace and tighten all mounting screws with a screwdriver. Be sure the tank is properly secured.
Step 4
Reconnect the propane intake. The copper tubing will bend quite easily. Avoid damaging the tubing.
Step 5
Turn the water cut-off valve to the “On” position and turn on the propane tank(s). Fill the hot water heater and inspect for leaks before replacing the rear access cover.