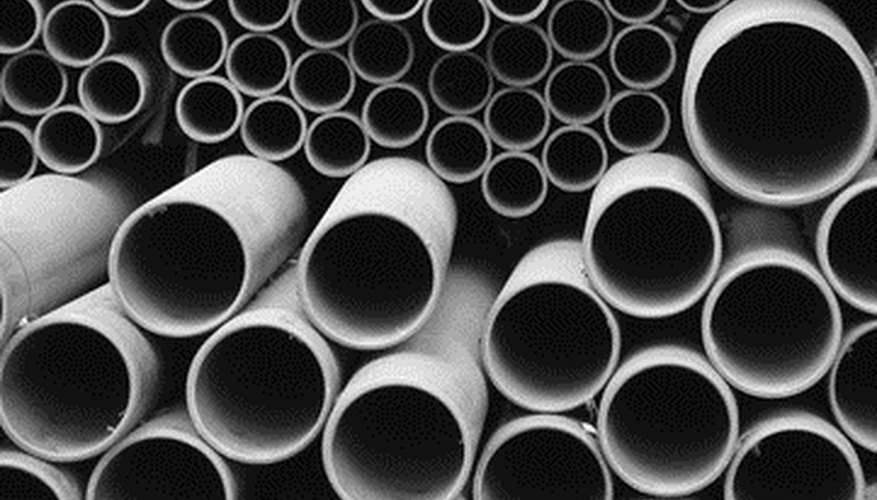
Snow sleds go through a lot of wear and tear during the winter months. It's not unusual for a commercial sled to be completely worn out by the end of a single season. Rather than spending a lot of money for a sled that will likely become damaged, building one out of PVC pipes means simply interchanging the damaged components when needed. Elbow joints and caps are used to keep snow from getting clogged in the pipes and their smooth surface allows them to easily glide over the snowy landscape.
Items you will need
PVC pipes
2 PVC 45-degree elbow joints
2 PVC 90-degree elbow joints
2 PVC caps
PVC or plumbers glue
Measuring tape
Marker and pencil
Hand saw
Plywood board
Circular or table saw
Clamps
Screws
Drill
Paint
Rope
Instructions
Measure the length of the sled's frame onto the PVC pipe. The size and amount of people you want to be able to fit onto the sled at a single time will decide its length. Mark the length then cut through the pipe using a hand saw. You'll need 2 pipes cut to this size.
Measure and cut a single PVC pipe to the required width of the sled. Unlike the length of the sled, which can vary a great deal in measurements, sleds are generally no more than two feet wide. Cut two sections of additional PVC piping that measure a half foot each.
Construct the frame of the sled. Insert one end of each of the long frame pipes into the 45-degree PVC elbow joint. Use either PVC or plumbers glue to ensure a secure hold. Glue the ½-foot long pipes into the other opening of the elbow joints. Attach the remaining 90-degree elbow joints to the tops of the ½-foot pipes. Lying upright side by side, these elbow joints should point toward one another. Link the two halves of the frame together with the two-foot long PVC pipe. Glue PVC caps to the open ends of the pipes at the back of the frame.
Measure and cut a piece of plywood to size. The board should be flush with the sides of the sled and extend from the elbow joints to approximately two inches from the end of the frame. Either a circular saw or a table saw can be used to cut the plywood to size.
Place a curving line of PVC glue along the long frame pipes and lay the plywood board on top. Clamp the plywood board onto the sled frame. With a pencil, mark the locations where the screws will be inserted. Mark a spot approximately every six inches, making sure to have a screw inserted at the top and bottom of the board. Drill the screws into place.
Paint the sled using spray paint to give it a uniform look. Attach a length of rope to the front of the sled to pull it along.
References
Writer Bio
Joanne Robitaille's first journalistic experience was in 1994, when she did school reports for a local newspaper, "Shoreline." Her articles now appear on various websites. Robitaille has a Bachelor of Arts in English and creative writing from the University of Windsor.


