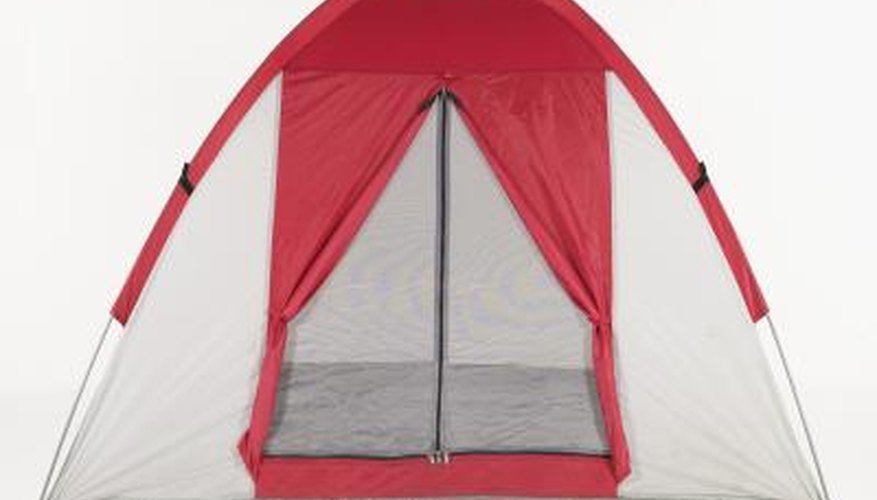


With some planning, preparation and the proper instructions, you can save time and the potential headache of incorrectly setting up camping gear. Northwest Territory manufactures various tents, with the Sierra Dome model being most common. The instruction process is nearly identical for other models. The Dome tent is best put together by two people, so enlist the help of a partner. You'll need to insert poles into the tent, attach the rain fly and fly poles, fasten the attachments and stake the tent into the ground. It's a good idea to become familiar with your camping gear before the trip.
Items you will need
Hammer or mallet
Step 1
Spread the tend out on a clean, level area of the campsite with the floor side facing the ground. Insert the two main poles through the sleeves, so that the poles cross at the top of the tent in an "X" formation. Next, insert the two yellow side poles through the sleeves located on the sides of the tent and fasten the fabric ties loosely at the center of the roof.
Step 2
Secure the poles starting with the main pole, by holding one end of the pole and having your helper hold the other end. Together flex the pole into an arch to enable you to insert the pins located at the stake loops into both ends of the pole. Do this for both main poles and the two side poles.
Step 3
Fasten the hooks on the tent to the fiberglass pole frame. Grab your hammer in preparation to stake the tent. The stake loops are located along the perimeter of the tent, but first make sure the tent floor is pulled out evenly and tightly. One by one, insert each stake through the stake loops and hammer the stakes into the ground at a 45-degree angle.
Step 4
Unfold the rain fly and place it over the top of the tent with the awning hanging over the front door. Hook the plastic S-hook on the fly corners to the metal O-rings located at the stake loops, to secure the fly to the tent. Locate the sleeve at the edge of the fly awning over the door and insert the fly pole. Flex the pole to enable you to insert each end into the metal grommets located on each side of the door in the pole sleeve. Locate the Velcro fasteners that are sewn into the underside of the fly and wrap the fasteners around the fiberglass tent poles.
Step 5
Place the closet pole inside the closet by forming the pole into the shape of an upside down “U” and inserting to extend and support the closet. Secure the pole in place by wrapping the Velcro tabs on the closet wall around the pole. Grab your hammer and stake the outside corners and secure the tent using all guy lines and stakes. The tent comes with an optional mud mat that you can attach and stake into place at the front door.
Warnings
- Pitch the tent away from open fires and flammable liquids in an area free of debris.
Tips
- Perform a test assembly prior to your camping trip to become familiar with setup.
Tips
- Perform a test assembly prior to your camping trip to become familiar with setup.
Warnings
- Pitch the tent away from open fires and flammable liquids in an area free of debris.
Writer Bio
Ainsley Whitley is a contributing writer for various branded properties that together attract more than 280 million readers seeking influential content. Whitley's articles have appeared in various print and online magazines, including "GQ," "Details," "Southern Living" and "Cooking Light."