
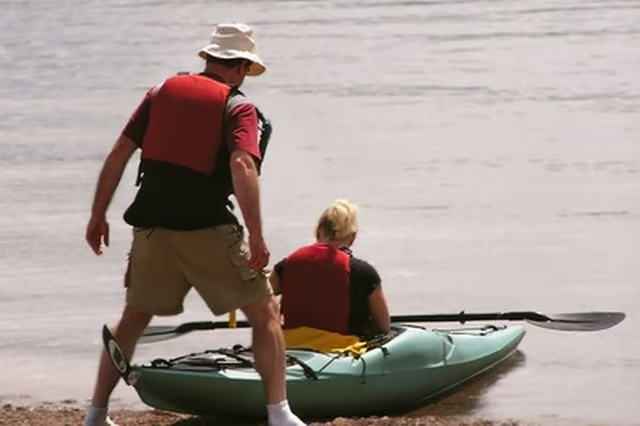
By following a few simple steps and with relatively few supplies, you can turn your old boat trailer into a new kayaking trailer to transport your vessel to and from your favorite destinations. Converting your old boat trailer is a cheap and efficient way to transport your kayak and get you ready for new adventures on the water. This simple conversion will also work to for transporting canoes to and from a variety of locations.
Items you will need
Welding gun
Welding helmet
Eye bolts
Two 6- to 8-foot steel tubes (2-by-2 tubing)
Six 1-by-2 angle iron or 1-by-2 tube steel
2-by-2 tubing cut to length required (adjusted for length of boat trailer) for cross-member
1/4- or 1/8-inch steel plate
6 Styrofoam swim noodles
Hacksaw or jigsaw
Measuring tape
Knife
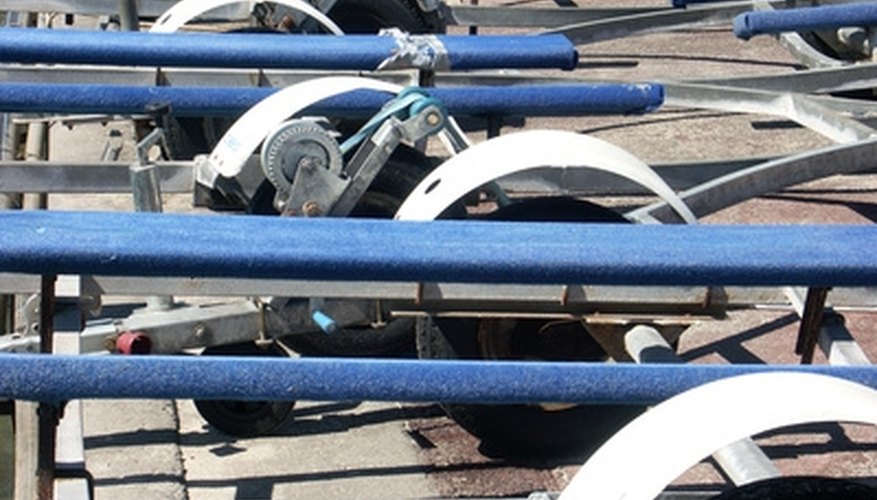
parking remorques à bateaux image by Unclesam from Fotolia.com
Clean the boat trailer, removing any unwanted winches, rollers or boat pads from the trailer that would have been formerly used to support a boat. You want to start fresh with a clean frame.
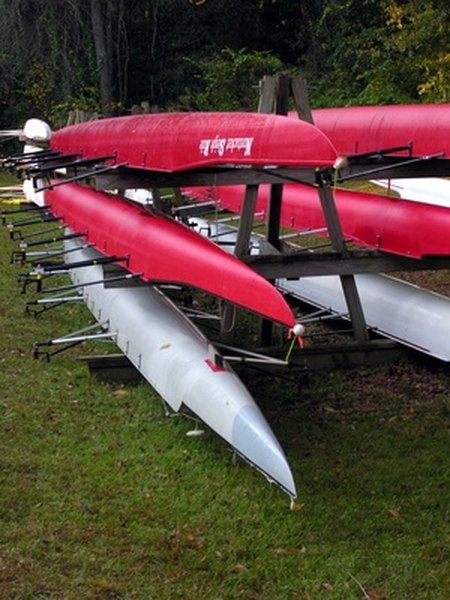
sculls ready to go image by jimcox40 from Fotolia.com
Determine how high you wish your rack to be, keeping in mind that the lower the center of weight is, the lesser the chance of instability of the rack.
Using a jig saw or hacksaw, cut the two 2-by-2 tubular pipes to an equal length of 6 to 8 feet.
Weld the two tubular pipes you just cut across from each other at opposing ends of the boat rack.
Begin 4 to 6 inches from the bed of the boat rack and weld the cross-members using uniform lengths of either 1-by-2 angle iron or 1-by-2 tubular steel. Continue welding cross-trees to your front and back racks until you have added three per side (front and back).
Measure the length of tubing required to join your front rack and your rear rack.
Cut 2-by-2 tubing with a jigsaw or hacksaw to the measurement taken in Step 6 and then weld between your front and rear racks to serve as a stabilizing cross-member.
Cut 6-inch triangular gusset plates using 1/4- or 1/8-inch steel, clamp and weld to each of your cross-trees in order to lend stability under the weight of the kayaks. Weld along the cross-member and cross-tree in order to ensure that the gusset is providing maximum support.
Drill holes along each cross-tree and at the center where each cross-tree meets its vertical cross-member. Screw in eye bolts. These will be used to secure kayaks or canoes using bungee cords or ropes while transporting.
Cut your Styrofoam swim noodles in half lengthwise. Use them to wrap each of the cross-tree branches to protect your kayak from scratches.