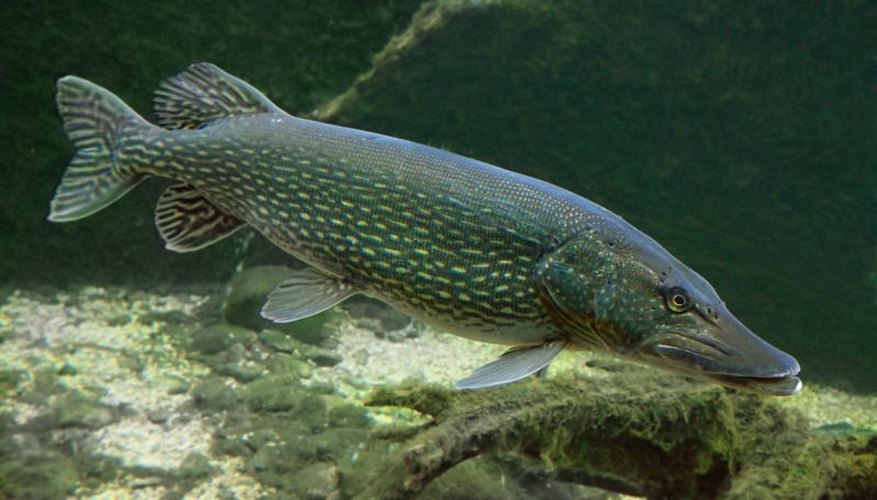
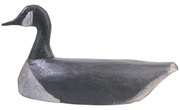


For centuries, fish decoys have helped spear-wielding ice fishermen skewer hefty game fish. Darkhouse angling -- named such because it takes place in a dark tent over a hole in the ice -- is only legal in a few northern states, but many people also use fish decoys as decorative items. Making fish decoys is difficult, but beginners can have fun turning a block of wood into a convincing lookalike, and experimenting with it until it swims well.
Pick a Pattern
Start by deciding on a basic body plan for your decoy. Flattened, bluegill-like decoys are often effective, as are more cigar-bodied replicas, such as pikes, suckers and trout. Find a picture of your chosen species, shrink or enlarge it with a photocopier or scanner until it is the desired size and then cut it out – this will function as a template. Trace the outline of the fish’s body and major anatomical features, such as the gill plate, on a piece of basswood or white cedar that is only slightly larger than the outline.
Band Saws, Chisels and Knives
Begin roughing out the block of wood by trimming excess material with a band saw. Once you are finished, draw a line down the center of the longest side of the wood, to function as a reference point while you remove more wood. (Use a chisel and a very sharp knife to whittle the fish into shape. Start by shaping the head, and working your way backwards. When you get to the tail, carve it so that it curves to the left or right, which will make the fish swim in circles below the ice. Make small slits in the wood where you want to attach the fins. Once the decoy is completely shaped, sand it very lightly with medium grit sandpaper, being careful not to alter the shape much.
Fins and Other Fancy Touches
Use thin pieces of copper, tin, aluminum or thick plastic film to make the fins. Cut out the basic shape of the fins, but leave a long tab that you can insert in the slots on the decoy body. Insert the fins in the body and glue them into place with a waterproof epoxy; use the same type of adhesive to attach a pair of glass eyes to the decoy. Insert a small eye screw into the dorsal side of the fish to give you a place to tie the decoy to your line. Find the decoy’s ventral balance spot and drill a hole large enough to accommodate lead shot, which will provide weight to the decoy. Do not insert lead into the hole until you have painted and sealed the decoy.
Convincing Colors
Use waterproof, matte-finish spray paints to give your decoy color. Apply several coats of color and at least one coat of clear lacquer to ensure everything is waterproof. Most fish decoys are painted realistically, but brightly colored decoys – often called folk art decoys – can also be effective luring curious predators into range of your spear, so do not be afraid to paint your decoy in bold pink, blue and yellow tones if you like.
Weighty Matters
You will need to experiment with your decoy to get it to swim the way you want it to. Most decoys are designed to sink slightly, so adjust the amount of lead in the body until the decoy performs well. Tweak the shape and size of the fins as necessary until the fish swims as you wish. Some decoy makers insert more than one eye screw, which provides multiple places to attach the line, and therefore more flexibility to the operator.