


Items you will need
2-inch-by-4-inch-by-4-feet lumber (6)
1-inch-by-6-inch-by-8-feet lumber (4)
Electric drill
3/8-inch drill bit
3/8-inch carriage bolts
Hammer
Washers
Nuts
Wrench
Tape measure
Pencil
1-inch-by-4-inch-by-8-feet lumber (14)
Bevel gauge
Miter saw
Heavy duty reversal strap hinges (8)
Metal stakes
1-inch-by-4-inch-by-4 feet lumber (4)
1-inch-by-6-inch-by-6 feet lumber (4)
1-inch-by-4-inch-by-6 feet lumber (8)
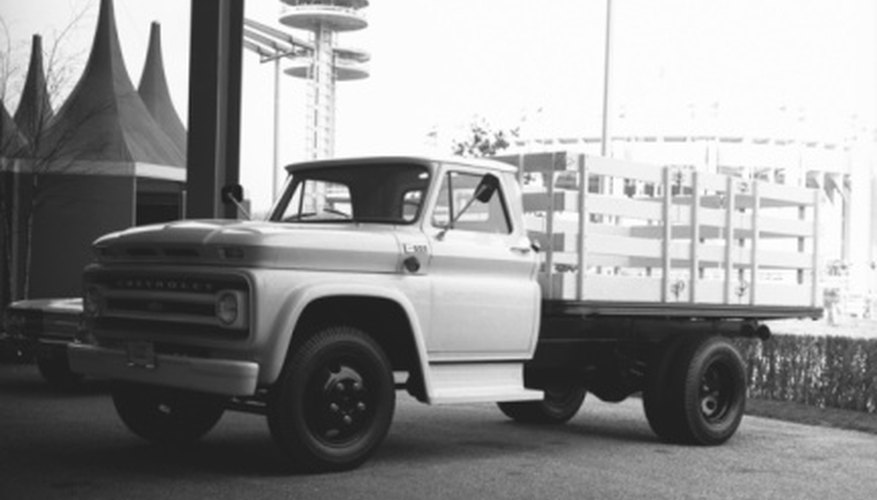
Having the ability to transport livestock animals in the back of your pickup truck can allow you to save the time and energy needed to hook up a trailer if your pickup didn't have livestock racks installed. Basic woodworking skills are needed to construct and install the livestock racks. Purchase lumber that is straight and knot-free to ensure structural stability. All materials needed for the truck racks can be located at a local home improvement store.
Lay out side by side three of the 2-inch-by-4-inch pieces of lumber vertically. Horizontally place one of the 1-inch-by-6-inch-by-8 feet pieces over the top ends of the 2-by-4's and one over the bottom ends. Flush up the ends to create a large rectangle. Measure the location of the slots in your truck bed sides for the metal support stakes to go. Adjust the 2-by-4 spacings to match this measurement.
Drill two holes with the electric drill and 3/8-inch drill bit at each intersection in the lumber. Hammer a carriage bolt through each hole. Slide one washer and one nut onto the end of the bolt. Hand tighten the nuts.
Measure from the top down along the 2-by-4 pieces at 1-foot-2 inches, then three intervals of 8 inches. Mark these measurements with a pencil on the lumber. Lay out four of the 1-inch-by-4-inch-by-8-feet pieces of lumber horizontally. Line up the bottom edge of the first piece of lumber with the 1-foot-2-inches mark. Line up the bottom edge of the next piece of lumber with the next mark and so on until all the horizontal 1-by-4's are evenly spaced on the rack. Drill holes and bolt together in the same manner as you did with the outside frame.
Measure the diagonal dimensions between the top of the vertical center support piece and the bottom of the side supports. Use the bevel gauge to figure out the angles at these locations on the rack. Transfer these measurements and angles onto two pieces of 1-inch-by-4-inch lumber. Set the miter saw to the figured angles. Cut the lumber. Drill and bolt the diagonal pieces in place.
Attach one metal stake to the bottom of each of the vertical support pieces using carriage bolts. Bolt one hinge in each of the four corners of the rack. This completes one side of the rack. Repeat this whole process to build the other side. Insert side racks into the slots on the sides of the truck bed.
Lay out vertically two 1-inch-by-4-inch-by-4-feet pieces of lumber. Place a 1-inch-by-6-inch-by-6-feet piece over the top end and bottom end of the lumber to create a box. Flush up the ends, drill and bolt together.
Measure from the top down along the 1-by-4 pieces 1-foot-2-inches, then three intervals of 8 inches. Mark these measurements with a pencil on the lumber. Lay out four of the 1-inch-by-4-inch-by-6-feet pieces of lumber horizontally. Line up the bottom edge of the first piece of lumber with the 1-foot-2-inches mark. Line up the bottom edge of the next piece of lumber with the next mark and so on until all the horizontal 1-by-4's are evenly spaced on the rack. Drill holes and bolt together.
Measure the distance between the center of the bottom 1-by-6 piece and the top corners of the rack. Use a bevel gauge to determine the angles at these locations. Transfer these measurements and angles to two pieces of 1-by-4. Set these desired angles on the miter saw, and cut the lumber accordingly. Place the two diagonal support pieces on the rack to start at the top outside corners and meet at the center of the bottom 1-by-6 piece. Drill holes and bolt in place. This completes one end (front or back) of the rack. Repeat this process to create the other end. Fasten ends to the mounted hinges on the side racks. To open and close the back end rack, remove the pins from the hinges on one side.
Writer Bio
Gabrielle Black has been a professional writer, artist and designer since 2002. Her theatrical designs, puppet design and construction have been featured in "Theatre Design & Technology" magazine and she has written numerous articles for various websites. She holds a Bachelor of Arts from Luther College and a Master of Fine Arts from the University of Idaho, both in stage design and painting.