


Jennings has been among the leading compound bow manufacturers since they were invented in the mid-60s. Its inventor, a mechanic named Holless Allen, saw how he could shorten the bow limbs and use pulleys to add strength, speed and accuracy to the bow that had not been possible before. Since then, Jennings compound bows have been a popular choice for many archery enthusiasts and hunters. Of course, accuracy is the name of the archery game, and Jennings has been a consistent deliverer of that accuracy. To maximize shooter accuracy, establishing and setting the bow to its most exact draw length is one of the main keys.
Items you will need
Measuring tape
Calculator
Jennings compound bow
Screwdriver
Step 1
Measure to find your correct personal draw length. Extend both arms fully from the shoulders, and open and extend your hands completely. Have someone measure the entire span from the tip of your middle finger, to the tip of your other middle finger. Remember that draw length is as personal as your height, since most normally developed people will have an arm span equal to their height.
Step 2
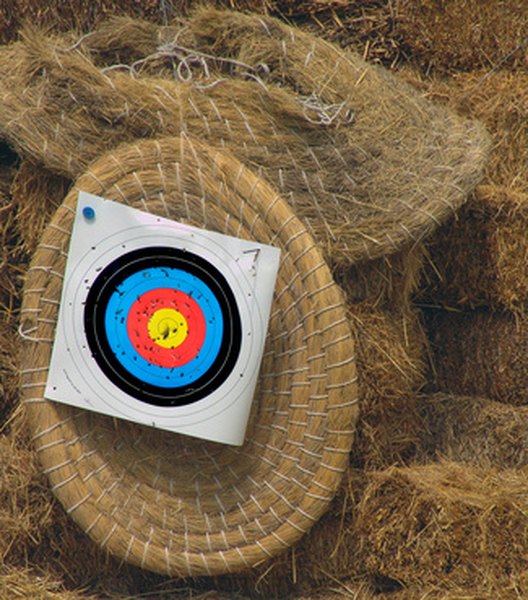
archery. image by SYLVIE FOURGEOT from Fotolia.com
Subtract 15 from this number; then, divide the remaining number by 2. Remember this is your own personal draw length. For example, if you are 5 foot 7 inches tall, you would have a 67-inch arm span. Subtract 15 from 67, and get 52. Divide 52 by 2 to get 26. Your correct draw length is 26 inches.
Step 3
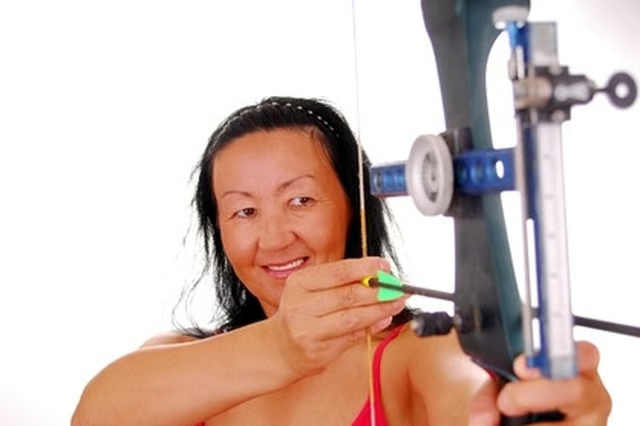
Align the bow to fit your body frame and the matching draw length. Load the bow with an arrow, and pull/cock the bow to full extension. Check how the bow aligns with your face at full extension.
Step 4
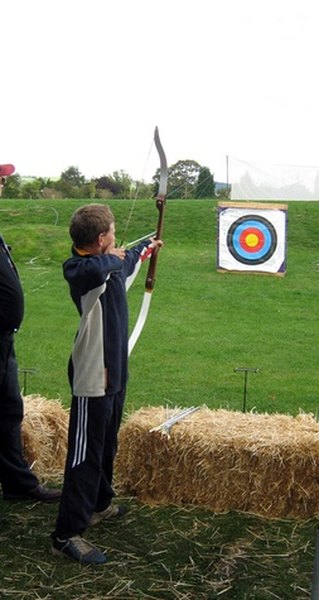
boy playing archery. symbol of success.leisure. image by L. Shat from Fotolia.com
Measure your comfort level from the tip of your ear the bow is pulled to, the corner of your mouth and the tip of your nose. Check to make sure the first knuckle of your forefinger on your pull hand is resting at the tip of your ear, and the first joint of the forefinger is slanted toward the hinge of your jaw.
Step 5
Ensure the string aligns with the corner of your mouth 1-1/2 to 2 inches above the arrow. Look to see the tip of your nose just grazes the string roughly 2 inches below the peep. Use these three reference points to find your anchor point; check proper shooting posture and correct draw length.
Step 6
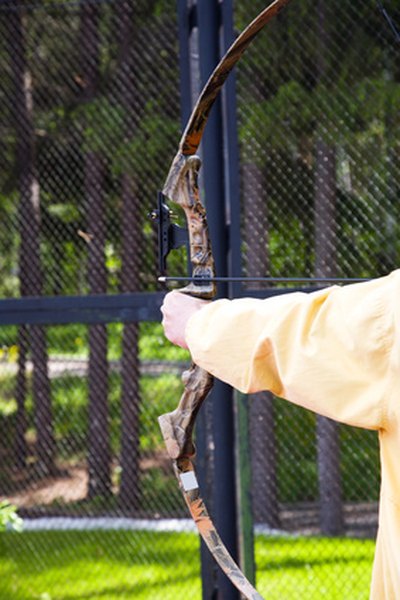
Men bow shooting. Amateur competition in the sanatorium image by Igor Zhorov from Fotolia.com
Check your vision path through the peep site and your outside eye. Adjust the draw length longer if you are too close to the peep and the field of vision is too tight. Work with the draw length until you are able to focus in on the peep site and what you see through it; and obviously, shorten the draw length if you are too far from the peep.
Step 7
Adjust the draw length to the corrected and measured length and shooting posture with the set screw located on the cam. No bow press is needed. Use a screwdriver to back the screw out; then, tighten gradually to adjust as you repeatedly draw the bow and measure resistance and draw length comfort level.