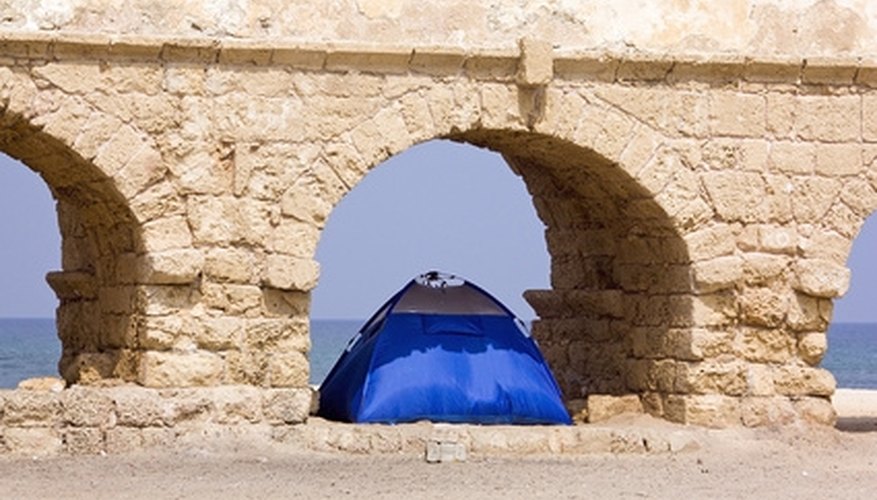
Ozark makes tents designed to be easy to assemble. The tents do not require tools streamlining the assembly process. The two-room dome tent allows for more space and a little bit of privacy during the camping vacation. This particular tent does require two people to assemble, as you will not be able to hook the poles up on your own.
Items you will need
Ozark two room cabin tent
Lay the tent out flat on the ground. You should find a smooth spot, free of sharp rocks and hard bumps. Place the bottom of the tent flat on the ground.
Extend the main tent poles. The poles are "break-away" poles, attached together by stretchy material through the center. As you open the poles, the pieces should snap into place.
Put a pole through one of the center sleeves. This will put the pole through the five-way center hub of the tent. Repeat this step with each of the four remaining main poles.
Flex all of the poles gently into an arch, securing each end on opposite pin-rings at the base of the tent. These rings have a straight side that fits directly into the bottom of the poles.
Move the fabric along the poles so it is evenly distributed. This will keep the tent at an even height and not lopsided as well as keep the fabric intact.
Snap the quick clips on the tent body to the rest of the poles. This pulls the tent up, into the dome shape.
Extend the side tent poles and place them near the places they will need to be installed.
Push each pole through a side pole sleeve. These are the smaller sleeves that remain empty after the main tent poles have been inserted.
Secure the ends in the pin-rings at the base of the tent. These will be the leftover rings from the main tent poles. These poles slide into all the second rings at the base of the tent.
Snap the quick clips on the poles to give the tent shape.
Rainfly Assembly
Extend the rainfly pole.
Push the rainfly pole through the sleeve on the bottom side of the rainfly.
Place the rainfly, pole side down, over the tent. The position should be centered over the front door.
Push the pole tips into the metal grommets or "eyes" on the front pole sleeves.
Connect the S-hooks to each corresponding fabric loop. The loops and S-clips are color coded so that you will know you have put the rainfly on correctly.
Adjust the nylon straps to have the correct amount of tension on the rainfly. Depending on the wind, you might want it to be tighter.
Warnings
- If you are camping in extreme weather, you should consider another tent. This tent is not rated as a four-season tent so is best for late spring, summer, and early fall camping in cold areas.
Tips
- Make sure the place you choose for your tent has ground soft enough in order to insert stakes. While you do not have to put stakes in, if it is windy it will be helpful in keeping the tent where it belongs.
- Consider bringing a tarp to put between the tent and the ground. It will help with warmth as well as protect the tent from damage.
References
Tips
- Make sure the place you choose for your tent has ground soft enough in order to insert stakes. While you do not have to put stakes in, if it is windy it will be helpful in keeping the tent where it belongs.
- Consider bringing a tarp to put between the tent and the ground. It will help with warmth as well as protect the tent from damage.
Warnings
- If you are camping in extreme weather, you should consider another tent. This tent is not rated as a four-season tent so is best for late spring, summer, and early fall camping in cold areas.
Writer Bio
Pharaba Witt has worked as a writer in Los Angeles for more than 10 years. She has written for websites such as USA Today, Red Beacon, LIVESTRONG, WiseGeek, Web Series Network, Nursing Daily and major film studios. When not traveling she enjoys outdoor activities such as backpacking, snowboarding, ice climbing and scuba diving. She is constantly researching equipment and seeking new challenges.


