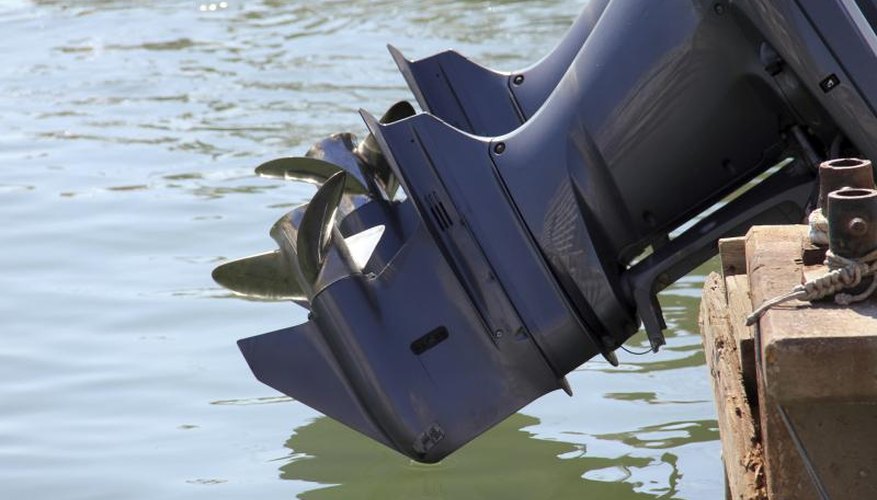
A clogged outboard can be a nightmare. How much you experience that nightmare, depends on the nature, location and cause of the clog. For example, an outboard with a clogged cooling water discharge requires little or no disassembly, whereas an outboard that’s been underwater -- and laying in a mud bank -- needs a nearly complete disassembly. Unclogging an outboard begins with troubleshooting where to find the blockage -- a job for someone skilled in mechanics.
Manual Labor
Pick up the shop manual and read the section describing the process you’re about to undertake. Manufacturer’s manuals provide a wealth of information on specific troubleshooting techniques and the methods for unclogging an outboard. They describe and illustrate all repair techniques for the specific engine, list the tools needed for a job and provide essential information for specific engines, such as torque specifications for tightening all bolts. Note this one caveat: not all are non-manufacturer repair manuals the same. Manufacturer’s manuals provide you the same information they give to a marine technician. Commercially produced manuals, although based on the shop manuals, may lack some necessary information altogether.
Start With the Obvious
Troubleshooting starts with the obvious. If, for example, the motor fell off the boat, landed in the mud at the bottom of Lack-of-fish Creek and lay there for a week, you can pretty much assume you’ll have to disassemble the engine and remove the water and mud from all the tiny spaces in the carburetor, the cooling system and the cylinders. If the motor didn’t drop in the drink, start with the simple stuff that’s likely to clog, the air, water, fuel and oil filters. If water refuses to spray from the cooling system’s discharge hole at the back of the engine, run a stiff wire into the cooling water discharge tube, to remove items that may clog the hole, a common location for a clog.
And Advance to the Complex.
You can remove and visually inspect most parts of your clogged outboard, but not all. You can flush the cooling system with fresh water using a garden hose just as you do when you winterize the outboard. But some parts require a different approach. One example is the jets and passages in a carburetor, which are small, some verging on invisible. And a bit of dirt from contaminated fuel can be too small to see. Remove the carburetor, clean it in carburetor cleaner and reinstall it. Ensure all electrical connections are tight and the insulation on the wires is in good condition, because a short circuit can masquerade as a clog.
Decision Time
Before you undertake the process of troubleshooting and repairing a clogged outboard and after you read the appropriate section of the shop manual, decide if you’re confident about performing the repair. An outboard is a small engine that uses extensive or complex computer, electronic, electrical, mechanical, cooling or fuel systems. If you feel you lack the aptitude, the tools or the time to make the repairs yourself -- or you can’t find the problem -- don’t be afraid to take your outboard to a qualified marine technician, as some new outboards can cost tens of thousands of dollars. If the cost of repairing your ailing outboard exceeds the cost of a new outboard, go shopping. But if the cost of repair is less than the cost of a new outboard, you’ll save money by going with a professional.
References
- Mercury Marine: Mercury Service Manual - 225 FourStroke Electronic Fuel Injection - Starting Model Year 2003, Starting Serial Number 0T653945
- NADA Guides: 2014 Mercury 350XXL DTS RH Verado Outboard
Writer Bio
Will Charpentier is a writer who specializes in boating and maritime subjects. A retired ship captain, Charpentier holds a doctorate in applied ocean science and engineering. He is also a certified marine technician and the author of a popular text on writing local history.


