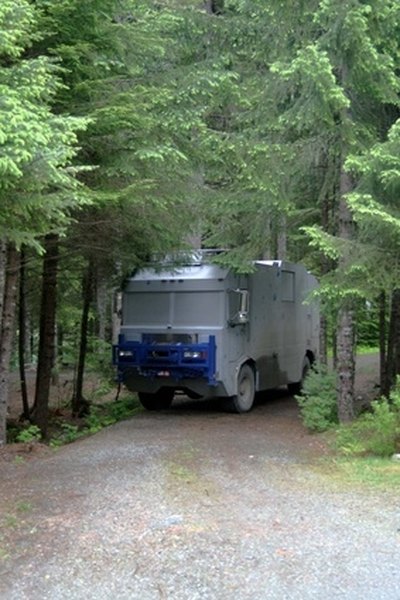
Recreational Vehicle (RV) generators require four main items to start. The battery needs to be in working order and have good connections to provide an electrical spark from the spark plug for starting. Clean gasoline in the tank provides the fuel for the spark to ignite. The air filter needs ample airflow to mix air and gas in the carburetor for combustion of the engine. If any of these items is missing, the generator will not start. The most common reason for an RV generator not starting is lack of these items or cleaning needed due to the generator in non-use for extended periods.
Items you will need
Adjustable wrench
Battery post and terminal cleaner
Petroleum jelly
Pliers
Air compressor
Battery Connections
Observe battery cables for cuts or breaks in the lines. Replace battery cables with any tears.
Observe the battery connections at the terminals and posts.
Place an adjustable wrench on the negative (-) terminal and turn it counterclockwise to loosen. Pull the terminal off. Repeat this process for the positive (+) terminal.
Place the round end of a battery post and terminal cleaner on the negative battery post. Press the cleaner down and turn in a circle to clean the post. Repeat this procedure for the positive battery post.
Place the pointed brush end of a battery post and terminal cleaner inside of each terminal. Turn the cleaner in a circle to clean inside of each terminal.
Wipe petroleum jelly on the battery posts and terminals to prevent corrosion and increase electrical conductivity.
Replace each terminal on its post and tighten the bolt clockwise with an adjustable wrench.
Place a weak battery on a battery charger to increase the cranking power for generator starting.
Low Oil
Grasp the oil fill lid and turn it counterclockwise to loosen. Pull the lid straight up to remove it.
Check the oil level on the dipstick.
Add oil to the oil fill tube if necessary to raise it to the "Full" mark on the dipstick. Replace the oil fill cap by screwing it on in a clockwise direction. Some generators have a safety low oil level sensor that prevents the generator from starting without sufficient oil in the system.
Old Gas
Unscrew the gas cap in a counter-clockwise direction and remove it, pulling straight up.
Smell the gasoline in the tank. If it has a varnish smell, the gas is stagnant and needs draining. Siphon old gas out and refill the tank with fresh gasoline.
Replace the gas cap by turning it clockwise.
Pinch the fuel filter clip with pliers to release the filter from the fuel line. Replace a fuel filter that is dirty with a new filter.
Spark Plug
Pull the spark plug harness off the spark plug. Unscrew the spark plug with adjustable pliers in a counterclockwise direction.
Pull the spark plug out and look at the contact point on top. If it appears burnt or rusty, replace the spark plug.
Clean the spark plug by spraying carburetor cleaner on the tip. Reinstall the spark plug and its harness.
Air Filter
Unscrew the thumbscrew on the air filter retainer in a clockwise direction. Pull the screw and lid straight off.
Pull the air filter out and observe it for excess dust or debris.
Blow the air filter off with an air compressor to remove loose debris. If the filter has any tears in it, replace it with a new one.
Reinstall the air filter in the retainer, replace the lid and tighten the thumbscrew in a clockwise direction.
Tips
- Check the oil, gas, battery and all connections at the beginning of each season to prevent generator problems before leaving on the first trip per year.
Tips
- Check the oil, gas, battery and all connections at the beginning of each season to prevent generator problems before leaving on the first trip per year.
Writer Bio
Mary Lougee has been writing for over 10 years. She holds a Bachelor's Degree with a major in Management and a double minor in accounting and computer science. She loves writing about careers for busy families as well as family oriented planning, meals and activities for all ages.


