
Being able to repair a cracked, chipped or broken shotgun stock is a valuable piece of knowledge for most hunters and shooting sports participants. Far too often, a perfectly good walnut stock is scrapped for a new one because of damage that could easily be repaired by its owner.
Items you will need
Four way screw driver
Long-handled, flat-head screwdriver
Finish safe solvent/cleaner
High-quality wood glue
Clamp
Drill
Small-diameter drill bit
Super glue
Small-diameter wire brad nail
Wire cutters
Metal file
Step 1
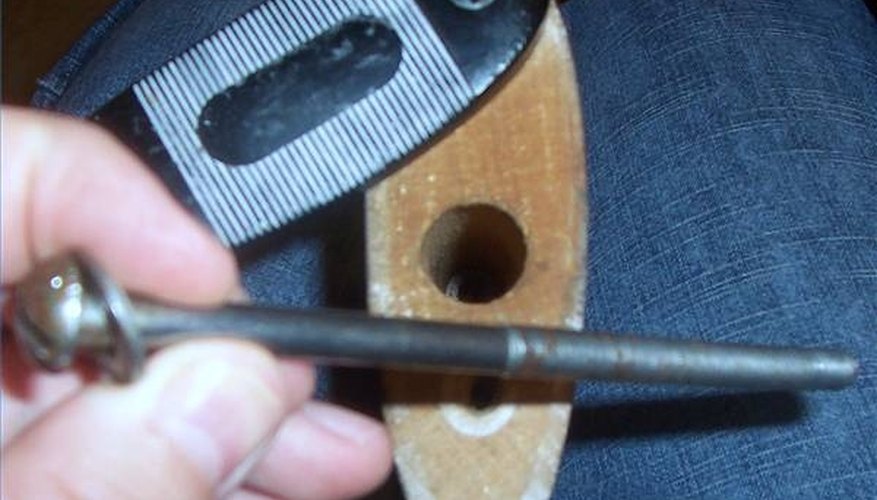
Remove Mounting Bolt
Remove the stock so you don't damage the metal and bluing of the shotgun. Take off the butt plate. You should see the bolt hole for the mounting bolt. Usually, the mounting bolt can be removed with a long-handled, flat-head screwdriver. Once the bolt is removed, you should be able to pull the stock from the mounted position.
Step 2
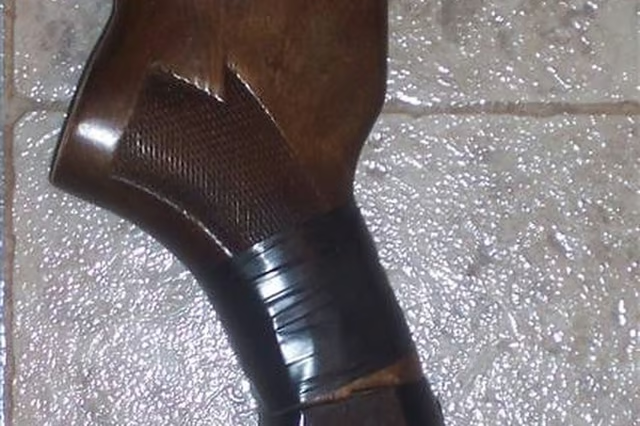
Remove Any Tape
Remove any tape or wrapping that may be on the stock. Thoroughly clean the area to be repaired. Use an old rag and a finish safe remover or solvent. Make sure to follow the directions of any solvent that you use, and let the area dry before continuing the repair.
Step 3

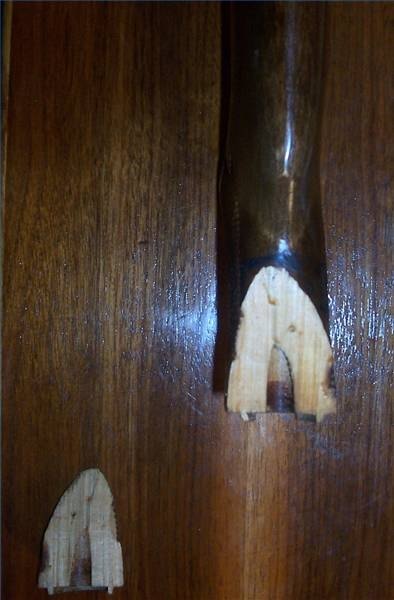
Clamp and Let Dry
Make sure the cracked or broken piece is in the correct position. Use a high-quality wood glue to glue it in its place. Immediately place the clamp correctly over the area, and tighten as much as possible without damaging the wood. Make sure to use the glue as directed on the bottle, and allow drying completely. Let it dry while clamped for 24 hours. After the glue has dried, carefully remove the excess glue that has expanded through the drying process.
Step 4
Pilot Hole
Drill a pilot hole, slightly smaller in diameter than the wire brad nails, on each side of the crack or break. Drill deep enough so you reach the good wood, but not so deep that you will completely sink the nail. You want a small portion of the nail sticking out of the hole for now.
Step 5
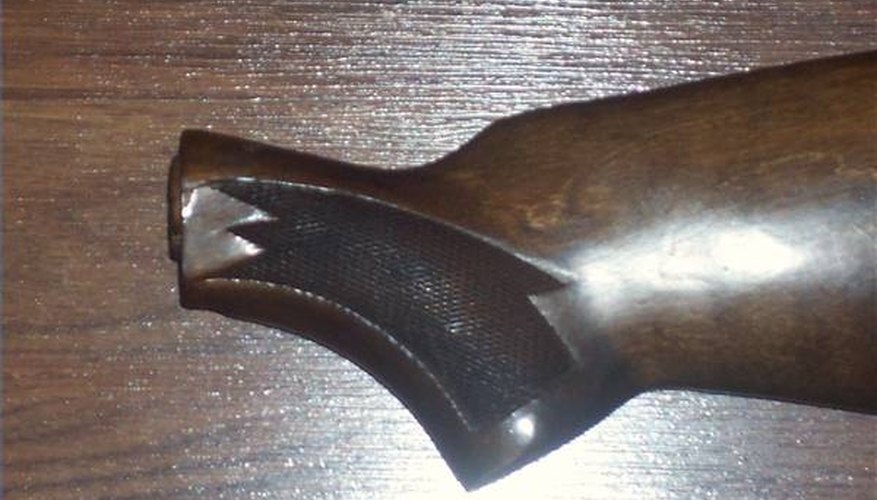
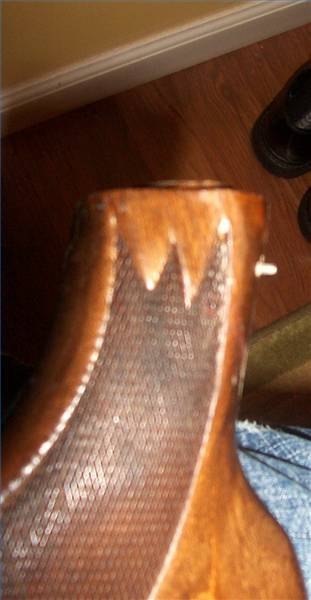
Finished Repair
Place a small amount of the super glue on each brad nail, and slowly push them into the pilot holes. As stated in the previous step, you should have a small portion of the nail sticking out of the hole. After the glue has dried, you can cut this portion off with wire cutters and file down with a metal file, being careful not to damage the wood. Once this is complete, reverse Step 1 to reattach the stock, making sure to tighten the mounting bolt thoroughly.