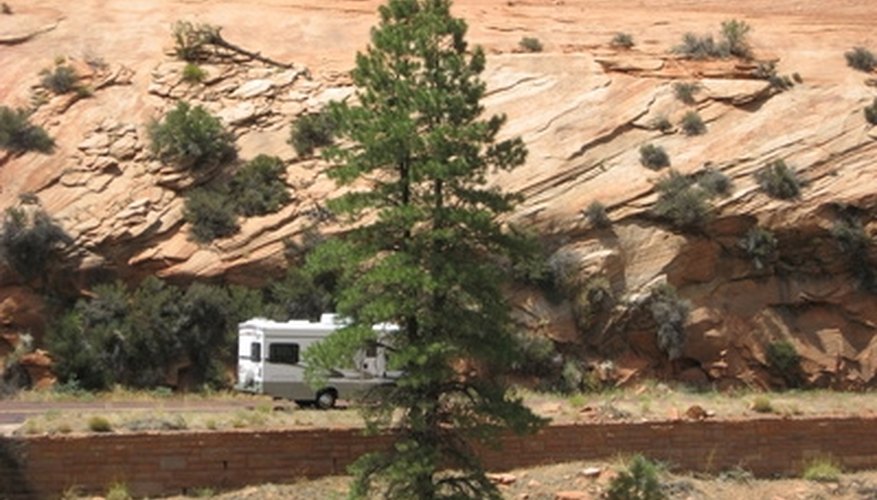
An RV uses up to three different tanks for the water systems. Typically an RV will use a fresh water tank, a black water tank that houses sewage and toilet waste, and a gray water tank that holds the waste water from sinks and drains. If you need to remove the gray water tank, use rubber gloves to prevent contamination from the fetid water.
Items you will need
Rubber gloves
Pliers
Screwdriver
Drive the RV to a dump station where the gray tank may be properly emptied in a certified waste tank station. Find these sites at campgrounds or certain interstate rest areas. Drain the gray water tank fully. Drive back to your parking lot and set the RV's emergency brake.
Put on the rubber gloves and go to the gray water tank housing. This is typically found at the rear left side of the RV. If unsure of your gray water tank location, consult your RV's user's manual.
Open the housing area panel. Locate the hose clamps on the gray water tanks valves or nozzle and unscrew them by turning the hose clamp screw counter-clockwise. Slide the hose clamp off the valve/nozzle and pull the hose off the tank.
Lift or pull the gray water tank up and out from the housing area. Keep the rubber gloves on during the entire process to prevent unwanted waste from touching exposed skin.
References
Writer Bio
A former Alaskan of 20 years, Eric Cedric now resides in California. He's published in "Outside" and "Backpacker" and has written a book on life in small-town Alaska, "North by Southeast." Cedric was a professional mountain guide and backcountry expedition leader for 18 years. He worked in Russia, Iceland, Greece, Turkey and Belize. Cedric attended Syracuse University and is a private pilot.


