
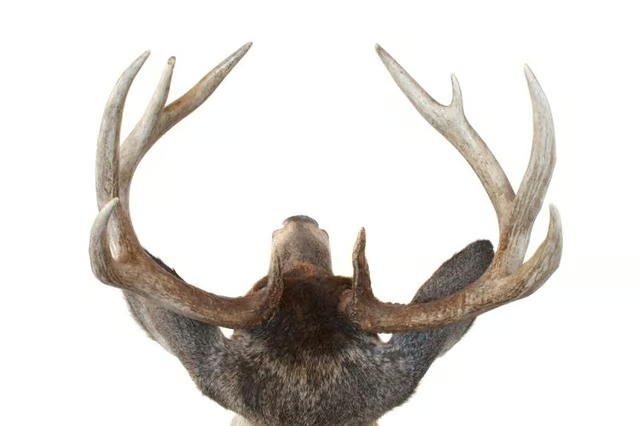
That big buck you've been dreaming about is finally lying in the grass at your feet. You've done it, you got yourself a dandy. Whether it's a whitetail or mule buck, you're going to want to save the horns as a memento for this epic hunt. After you've tagged, field-dressed and skinned your trophy, you can get to work on removing the horns.
Consider Your Goals
Before you get crazy severing the skull, first consider exactly what you want to do with the horns. If you want a full head mount, then you need to leave the horns attached to the skull and take the entire head and cape to the taxidermist immediately or put it in the freezer. A European mount also requires the horns to remain attached to the skull. If, on the other hand, you're going for a simple horn mount or just want to save the horns for later, they will need to be removed from the skull.
Methods of Removal
Cutting the horns off of a deer carcass can be viewed as an art form or as simply just one more chore -- either way, it has to get done. A very sharp knife, a hand saw and a chain saw are all possible tools for the job. The chain saw is the quickest way, but it is very messy and doesn't allow for much precision. A combination of a knife and saw will give you the accuracy you need to cut at the correct angles for a future mount.
The Process
When removing the horns, the goal is to keep both horns intact and connected to the skull. With your tool of choice, cut into the skull behind the ears. You don't want to do it directly behind the horns; give yourself an inch or two of wiggle room -- you can always remove more of the skull later on. This cut should be 1 to 2 inches and straight down, parallel to the nose bridge. Next, cut into the front of the skull between the horns and the eyes until this cut meets up with the first one. Give it a little wiggle and the entire piece should pop free.
Aftercare
You can choose to leave the horns as-is once they are free from the rest of the head, but if you're planning on a mount you have a bit more work to do. Use a sharp knife or razor blade to remove the hair and tissue on the piece of skull and around the horns. If you fail to do this, the horns will start to stink after a couple of days in warm temperatures. Once only bare bone remains, your horns are ready for mounting or whatever else you have in store for them.