


Making your own fishing lures can be a relaxing hobby as well as a means to create custom lures for specific fishing situations. Top water plugs and diving crank baits can both be made from a variety of wood types. Once the lure is shaped and sanded, paint it with bright attractant colors or to resemble a bait fish. Painting a wooden lure involves several steps to ensure the lure lasts for many years of fishing enjoyment.
Items you will need
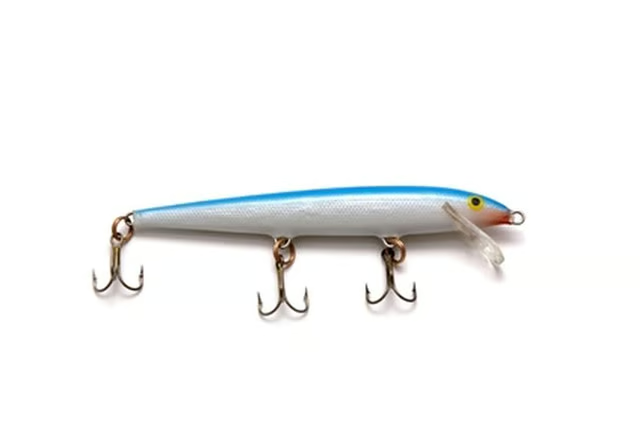
Wood fishing lure
Damp cloth
Wood sealant
Enamel paint
Clear coat
Paint brushes (small hobby)
Wipe the wooden lure body with a damp cloth or rag. Remove any sanding dust that may remain on the surface of the lure.
Apply a sealer coat to the wooden lure. Spray the lure with a combination sealer and base coat. This coating will help to close the grain of the wood and also help seal out water. It will also prepare the surface of the lure to accept the paint. Allow the sealant to thoroughly dry before continuing.
Select the colors that will be used to paint the wooden lure. Choose colors that resemble natural bait fish or select bright colors including red, orange and chartreuse. Apply the paint with small hobby detail brushes in a pattern of your choice. Once again, allow the lure time to thoroughly dry before proceeding.
Apply a clear coat finish to help protect the painted surface of the lure and seal out water. Use either a spray or brush on clear coat. Completely coat the lure, allow to dry and then apply a second coat to ensure the surface was completely covered.
Glue eyes onto the lure if they are being used. Use a water proof glue to attach lure or doll eyes to the head of the lure. Provide sufficient drying time for the glue to cure before using the lure.