
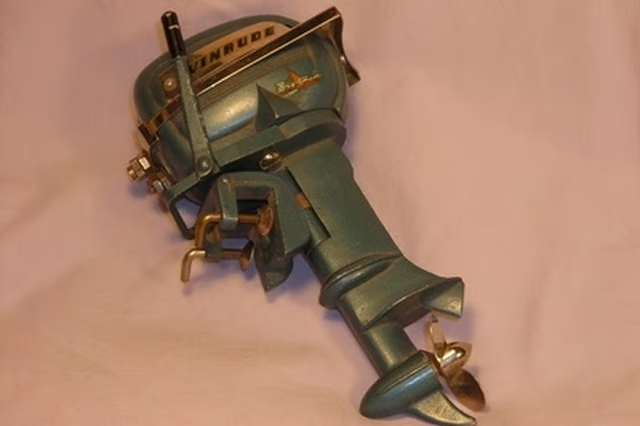


An outboard motor is a type of engine and propeller system used on speed boats. An outboard motor's continued exposure to moisture and interference with debris while moving through the water can cause its paint to wear down and chip off. It is possible to repaint an outboard motor to restore its aesthetic value and in turn maintain its value. Repainting an outboard motor is not difficult, though each step should be completed carefully to avoid chipping or peeling in the new coat.
Items you will need
400-grit wet sandpaper
Liquid dish soap
Dish scrubber or rough-sided sponge
Bucket of water
2-part putty
Painter's tape (optional)
Spray primer
Spray paint in desired colors
Spray clear coat sealant
600-grit wet sandpaper
Remove the outboard motor from your boat and place on your painting work surface.
Sand the entire outboard motor using 400-grit wet sandpaper. Sand the motor down to its bare metal surface. If you wish to protect any existing decals on the motor, cover them first with Painter's tape before sanding.
Clean the motor with warm, soapy water and a dish scrubber or rough-sided sponge. This will remove any debris left from the sandpaper and dirt and oil that may have accumulated on the motor over time. Rinse the soap off the motor with warm water and allow the entire motor to dry completely before moving on to the next step.
Fill any cracks, holes, or dents in with a two-part putty such as Bondo. This will create a smooth surface on which your new coat of paint can be applied.
Spray a light coat of paint primer onto the entire motor. Take care to spray the primer on as evenly as possible. If the motor is resting on its side, allow one side to dry before turning it over to spray the other side. Each side of the motor should take 4 hours to dry.
Sand the entire motor again using 400-grit wet sandpaper. This will smooth away any bumps or runs caused by the primer. Rinse the motor or wipe it down with a wet cloth to remove any sanding debris.
Repeat Steps 5 and 6 if you wish to have a truly smooth and long-lasting paint job on your outboard motor. Follow the exact same steps of priming and then sanding the motor before moving on to Step 8.
Spray the entire motor with marine quality spray paint in the color of your choosing. Spray the paint lightly so that the primer coat can still be seen through the paint coat. If the motor is placed on its side, allow one side to dry before painting the other side. Each side should take two days to dry.
Sand the entire motor again, but this time use 600-grit wet sandpaper. Rinse off the motor or wipe it with a wet cloth to remove any sanding debris.
Repeat Steps 8 and 9 if you wish to have a truly smooth and long-lasting paint job. Follow the exact same steps of painting and then sanding the motor.
Spray a final coat of paint over the entire motor. If the motor is on its side, allow one side to dry before painting the other side. Each side should take two days to dry.
Apply the marine quality clear coat sealant to the entire motor by spraying it lightly, allowing it to dry, then sanding it with 600-grit wet sandpaper just as you did in the priming and painting processes. Once you apply your final clear coat of sealant, wait at least a week before handling the motor.