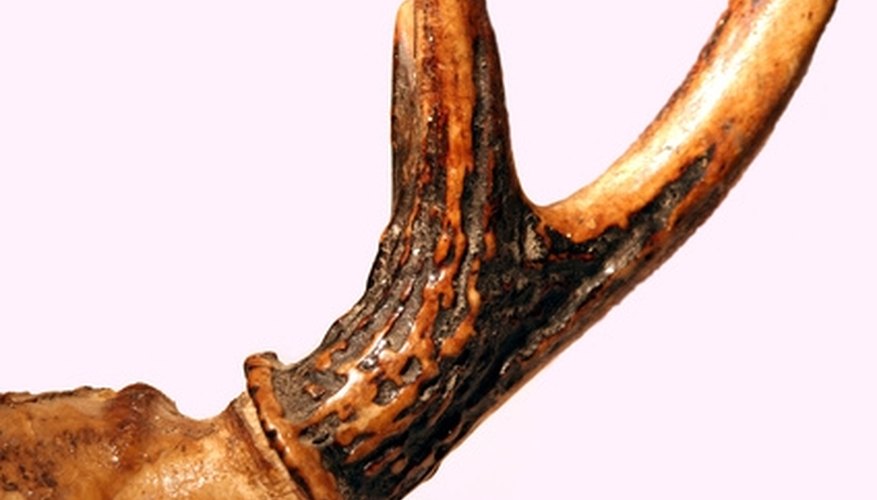
Deer skull mounts are growing in popularity in American homes. This may stem from the fact that deer skull caps allow hunters to show off their trophy without mounting an entire deer head on the wall. Deer skulls have been a popular decoration in European homes since the early 1700s. The skull cap is the portion of the skull above the deer's eye socket and usually accompanies the antlers for display. The process of preparing a skull cap for mounting can be done by the hunter without the need to hire a taxidermist.
Items you will need
Saw
Plywood
Sharp knife and/or scalpel
Screwdriver
Heavy-duty pot
2 gallons of water
Heavy-duty gloves
Wire brush
Aluminum tray
Borax, bleach or heavy-duty peroxide
Small paint brush
Pencil
Mounting plaque
Drywall screws
Drill
Small screws
Hanging tabs
Hammer
Two nails
Preparation
Place the deer head on a flat surface such as a section of plywood without the antlers touching the surface. Use a saw to cut the skull cap, including the antlers, from the skull. Cut directly above the eye sockets to a point about one inch behind the antlers.
Clean the majority of the skin from the deer skull cap using a sharp knife and/or scalpel. You also can use a screwdriver to assist in pulling the skin away from difficult areas such as the around the antlers. The skin can be removed most easily within two days after the deer has been killed.
Boil the skull cap for several minutes in about two gallons of water in a large pot. Boiling will help to loosen remaining meat and skin. Leave the top portion of the antlers sticking out of the pot. After a few minutes of boiling, remove the skull by the top of the antlers while wearing heavy-duty gloves. Scrape off any remaining meat or skin using a wire brush. Repeat the process until the skull is completely clean.
Place the skull in an aluminum tray deep enough to cover the skull in borax, bleach or heavy-duty peroxide. Using gloves and a small paint brush, paint the skull until it reaches the color of white you desire.
Mounting
Place the skull cap evenly on a mounting plaque. Drill two to three small holes through the thickest portion of the top of the skull cap and, ensuring alignment by using a pencil to mark skull hole location on the mounting plaque, directly through the plaque. Secure the skull to the plaque with drywall screws.
Screw two hanging tabs to the back of the mounting plaque using a drill and small screws. The hanging tabs should be evenly placed to the right and left of the top of the plaque to evenly distribute its weight.
Position the mount on the wall and mark dots on the wall with a pencil at the spots of the hanging tabs. Remove the mount and hammer two sturdy nails into the wall using the pencil marks to guide you. Hang your deer skull cap mount. (See References 1)
Warnings
- Cleaning agents such as bleach and peroxide can cause damage the skin if contact occurs. Always use gloves when working with these products.
- Boiling water can cause severe burns. Use gloves and do not touch the water when removing the deer skull cap.
Tips
- The longer you soak the deer skull cap in borax, peroxide or bleach, the whiter it will become.
- If you prefer to not drill holes in the skull cap, attempt to use a heavy-duty glue to secure the skull cap to the mounting plaque.
References
Tips
- The longer you soak the deer skull cap in borax, peroxide or bleach, the whiter it will become.
- If you prefer to not drill holes in the skull cap, attempt to use a heavy-duty glue to secure the skull cap to the mounting plaque.
Warnings
- Cleaning agents such as bleach and peroxide can cause damage the skin if contact occurs. Always use gloves when working with these products.
- Boiling water can cause severe burns. Use gloves and do not touch the water when removing the deer skull cap.


