

A respected brand name in the world of deer hunting, Moultrie's cameras, feeders and other equipment increase the ease of tracking game. Moultrie cameras are easy to mount, set up and use to capture quality photos of wildlife. The cameras also adds to the hunting experience by helping hunters track game travel patterns and discover the type and amount of wildlife in the area.
Infrared vs. White Flash
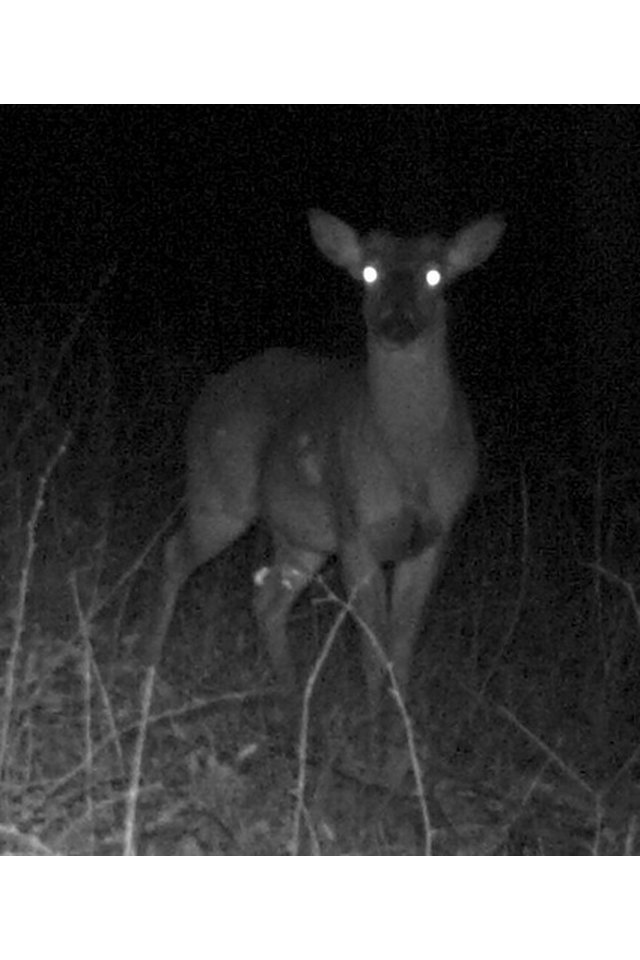
Decide which camera type, either infrared lens or white flash, best suits your needs. Moultrie carries three different lines of cameras. The I-series offers infrared picture capabilities. The D- and M-series cameras both use white flash to capture pictures. White, or incandescent, flash can capture full color pictures at night with better resolution and quality than infrared cameras. However, they also drain battery life and are much louder than infrared cameras, which can scare off game. Infrared cameras only capture black and white images at night, but have a longer battery life, softer sound and a quicker trigger time than white flash game cameras.
Mounting
Use the elastic cord mounting straps that came with your Moultrie game camera to prepare the camera for taking pictures. The straps make tree mounting easy, but can also be wrapped around any other suitably-sized sturdy object to hold the Moultrie game camera. The Moultrie Camera Tree Mount, available on the company's website, provides an additional mounting option.
Camera Settings
Use the full array of Moultrie game camera settings to customize shots. Follow your model-specific owner's manual to find out how to access setting options on your particular Moultrie camera, as well as how to modify those settings. In the "Setup Date/Time" screen, adjust the settings to reflect the current date and time. Change this whenever Daylight Savings Time occurs, as this is not automatically changed. If your Moultrie camera prints out the temperature on pictures, you can access the "Temperature" screen to change the reading to either Fahrenheit or Celsius. The "Image Delay" screen allows you to set the delay between pictures if the game stays within the camera's range. Reference your owner's manual to find out more model-specific settings.
Camera Use
Once mounted, turn the camera's switch to the "On" position to initiate power. Either with the "Mode" button, or on the "Mode" dial (this will differ based on your camera's model), select the "Auto" mode. Once you have done this, your camera will begin to take pictures based on the parameters you previously chose in the camera settings.