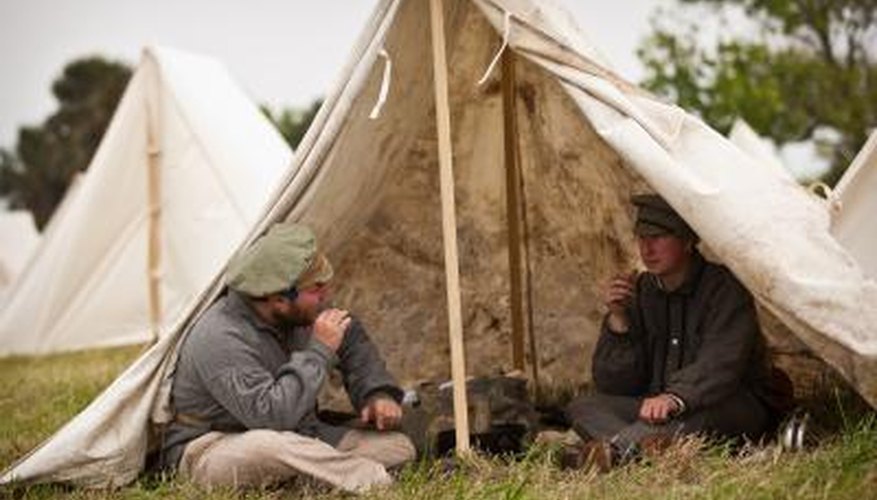
A wall tent is a type of tent that includes two short "walls" or sections of tent that stand perpendicular to the ground before angling inward and coming to a point at the top of the tent. Wall tents were usually made of canvas by outfitters in many different sizes for a variety of reasons, traditionally providing shelter for fur trappers, mobile military officer quarters, and gold prospectors. Wall tents, like other canvas tents, have largely been replaced with lighter, cheaper nylon and synthetic tents but can still be made using the right tools.
Items you will need
1 10-by-20-foot canvas tarp
Grommets
1 12-by-9 1/2-foot canvas tarp
Sewing machine
1 10-foot 2-by-4 board
2 7-foot 2-by-2 boards
Drill
Rope for guy wires
Step 1
Lay the 10-by-20-foot canvas tarp out on the ground. Draw a line with a pencil across the canvas 2 1/2 feet in from the 10-foot, or shorter, edges. Attach six grommets evenly spaced 2 feet apart along this line on each side of the tarp. These grommets will allow you to attach guy wires along the length of the tent that both hold the tent upright and make the walls.
Step 2
Attach grommets to each corner of the tarp if the tarp does not already have corner grommets. Depending on where you got the canvas tarp it may or may not come with grommets along the edge.
Step 3
Lay out the 9 1/2-by-12 foot canvas tarp to make the tent flaps. Measure and cut down the middle of the 12-foot-long side to make two 9 1/2-by-6-foot rectangles. Measure in 2 1/2 feet from the end along one side of each rectangle. Measure 7 feet down the other side of the rectangle and mark with a pencil. Connect the two marks diagonally across the canvas and cut. This should make four equal section of canvas with one 7-foot side, one 2 1/2-foot side, one 6-foot side, and one angled 7 1/2-foot side each.
Step 4
Sew two sides of each tent flap to the appropriate sides of the tent canvas. Sew the 2 1/2 foot long sections to a section of wall, and the 7 1/2-foot sections to the adjoining section of roof. Attach eight grommets along the 7-foot sections at 1-foot intervals so the sections can be tied shut and the tent can be closed.
Step 5
Use a hatchet or knife to carve a point into an end of each of the 2-by-2s. Drill a 1 1/2-inch hole through the 10-foot 2-by-4, centered 4 inches in from the ends of the plank.
Step 6
Slide the 2-by-4 between a set of tent flaps down the center of the tent. Attach guy lines to the grommets along the sides of the tent and stake the lines in the ground. insert the pointed end of the 2-by-2s into the holes drilled into the 2-by-4 and raise the tent.
Writer Bio
Michael Belcher has been a public relations professional since 2008 working for university groups and volunteer groups. He has a Bachelor of Science in journalism from Murray State University and is in Dublin, Ireland to finish a Master of Science in mass communications.


