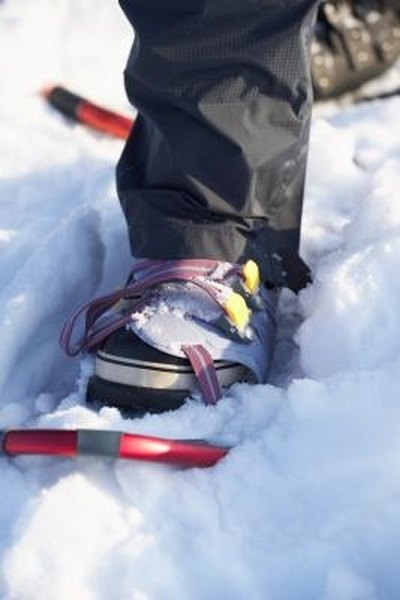
Gaiters are protective garments worn to cover or protect the ankle and the lower leg. Water, snow, dirt, pebbles and even thorns can get into boots. Gaiters prevent this from happening when participating in outdoor activities in dense underbrush or snow. For best results, they should be waterproof and easy to put on and remove, while still allowing protection from the elements. Custom gaiters are simple and inexpensive to make, following a few simple steps.
Items you will need
1 yd. fabric, either Gortex or nylon
Measuring tape
Scissors
Sewing machine
Thread
4 Velcro fasteners and straps
Lay gaiter material on a clean, flat surface.
Determine the measurements for your gaiter pattern. Put on all hiking leg gear typically worn on an outing. With the full gear on, measure the lower leg circumference of one leg at the shin area and at the calf area, using a measuring tape. Add 4 inches to the circumference measurements of both the shin and calf areas of the leg. Record the measurements.
Measure down the outside of the leg from the top of the boot area to the ankle. This is the length of the gaiter fabric. Record the measurements.
Create a gaiter pattern using the measurements determined in Step 1 and Step 2. Draw one vertical line on paper representing the gaiter length measurement. Draw a horizontal line, the shin circumference measurement, using the top point of the vertical line as the center mark. Next, draw a horizontal line for the calf circumference measurement, using the bottom point of the vertical line as the center mark. You now have the shin circumference measurement centered over the calf circumference measurement. Connect the end points of the two horizontal lines. Your pattern should look like a triangle with the tip cut off. Use this pattern for the gaiter fabric piece. Cut the gaiter fabric piece with scissors, using the pattern as a guide.
Turn the edges over to create a 1/2-inch hem around the entire gaiter. Stitch the hem, using a sewing machine.
Attach four 4-inch Velcro fasteners and their corresponding straps. Three of the fasteners attach horizontally, at the top, middle, and bottom, along one side of the open gaiter length. The fourth fastener is attached to the bottom edge of the gaiter. Place the fastener at the bottom of the gaiter, aligning it with the arch area on the sole of the boot. This allows the strap to wrap under the arch in the sole of the boot and come up and attach on the other side of the gaiter, keeping the gaiter from rising up the leg. Connect the corresponding straps to line up with each Velcro fastener.
Tips
- Ideally, choose a fabric that repels moisture. There are many colors and prints to choose from to give your gaiters a custom look.
References
Tips
- Ideally, choose a fabric that repels moisture. There are many colors and prints to choose from to give your gaiters a custom look.
Writer Bio
Karen Curinga has been writing published articles since 2003 and is the author of multiple books. Her articles have appeared in "UTHeath," "Catalyst" and more. Curinga is a freelance writer and certified coach/consultant who has worked with hundreds of clients. She received a Bachelor of Science in psychology.


