

Making a quality deer skin jacket is a complicated task, and it might take a few tries before you get it exactly right. If you're new to working with leather, purchase some less-expensive hide from your local tanner to practice, especially if the deer hides you plan to use for your jacket have a lot of meaning to you, or are personal trophies.
Items you will need
Four deer hides (minimum)
Jacket pattern
Notions (zippers, buttons, etc)
Heavy duty thread
Sewing machine
Heavy-duty needle
Shears
Chalk
Step 1
Choose your jacket pattern. You can get patterns for apparel at department stores with a sewing or craft section, at retail sewing stores, via online sewing/craft retailers, and online auctions. Look closely at the pattern package to see if will fits you well, and to find out how much material and thread you need. Be absolutely sure you have enough deer skin before you start your project. Purchase various accessories, known as "notions," based on your pattern. These can include zippers, buttons and embellishments. You also need heavy-duty thread to sew through the deer skin. Rayon or dual duty (polyester/cotton blended) threads are recommended for their durability when working with deer leather, but you can use thread any material except nylon, wool or metallic.
Step 2
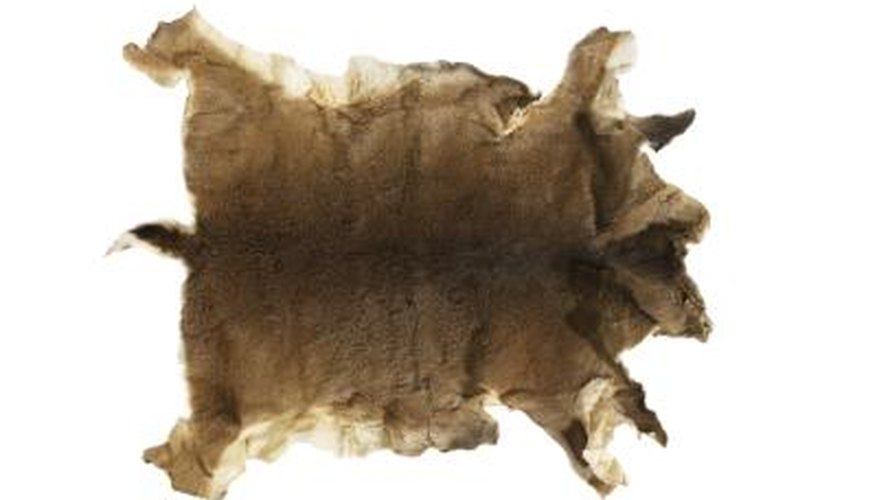
Thomas Northcut/Photodisc/Getty Images
Use high quality hides. It takes about four good deer hides to make an average jacket. If you hunt for these deer yourself, avoid dragging the deer through the woods. After the kill, tie both its front legs together, and its back legs together, and slide a long pole through its legs. You and a helper can carry the deer back to camp without damaging the skin. You can skin the deer yourself, or send them to the butcher. Notify the butcher you plan to use the deer hides. After skinning, pack the hides in salt and keep them in cold storage until you can send them to a professional tanner. You can find tanners in the phone book or online. Tell the tanner that all the hides need to be the same color.
Step 3
Prepare to cut the deer skin. The pattern needs to be cut out and laid onto the deer skin. Pay close attention to any natural whorls, scars or graining on your deer skin. You can choose to highlight these, and give your jacket unique character, by placing large pattern pieces (like the jacket back) on the leather. Or you can cut around them for a more uniform look. Note that holes are permanent, so use as few pins as possible to attach the pattern to your deer skin. Outline your pattern with chalk, then remove it. Cut the deer skin following your pattern.
Step 4

Jupiterimages/Polka Dot/Getty Images
Sew your deer skin jacket. You need a quality sewing machine and heavy duty needle to work the leather. Follow the pattern instructions very carefully, and take your time when sewing pieces together. Again, if you are new to sewing or new to leatherwork, you may want to practice on some other material first. Add notions like zippers or buttons, as per your pattern instructions, and apply any other embellishments (like beads) last.