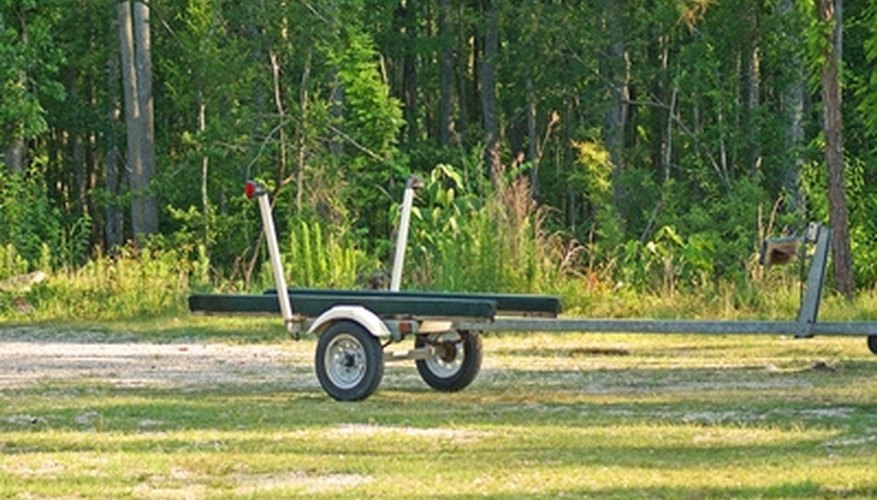
A transom saver supports a boat motor while you transport it by trailer. This keeps it from bouncing on the boat's transom as you drive, which can weaken it. The transom saver also keeps the motor straight during transit, which improves trailering and reduces wear on the boat's steering cables. A transom saver is easy to install and is an inexpensive way to maintain the strength of your transom. However, it should only be used on boats with hydraulically-operated motors.
Items you will need
Drill
Socket wrench and socket
Examine your boat trailer to determine which style of transom saver you need. If your boat has a central roller on the rear, get the roller mount kit. If not, you'll need the regular mounting kit. Some universal kits include components for either setup.
Position the motor up from the running position at about a 20- or 30-degree angle. Most motor manuals recommend trailering the motor in the down position, but if doing so may scrape the motor on the ground, the manuals advise to prop it up slightly with a device such as a transom saver.
Measure the distance from the central rear roller or the rear trailer crossbeam to the lower shaft of the motor to determine which length transom saver you'll need. Most transom savers adjust to some degree.
Prop the rounded end of the transom saver on the roller if you have a roller setup. Lower the motor and guide the shaft into the V-notch of the opposite end of the transom saver. Extend or contract the transom saver as needed.
Mount the bracket on the rear crossbeam of the trailer if you don't have a rear roller. Place the bracket on top of the crossbeam. Drill holes through the holes in the bracket with a drill into the trailer crossbeam. Insert the included screws in the hole and tighten with the appropriate-sized socket. Insert the transom saver in the bracket and twist the corkscrew device until it locks in place. Place the motor shaft into the transom saver's V-notch. Extend or contract the transom saver as needed.
Secure the transom saver to the motor with the included rubber bungee strap. Hook one S-hook in the hole at the top on one side of the transom saver. Wrap the strap around the motor and secure the second S-hook in the hole on the opposite side.
Lower the motor until the weight of the motor is off the transom and on the transom saver.
Warnings
- Don't lower the motor onto the transom saver too far. Lower it only enough so the weight is off the transom.
References
Warnings
- Don't lower the motor onto the transom saver too far. Lower it only enough so the weight is off the transom.
Writer Bio
Joe Shead is a freelance writer specializing in outdoor writing. He has written for numerous national and regional outdoor magazines on various topics from hunting to fishing to his pet subject, shed antler hunting.


