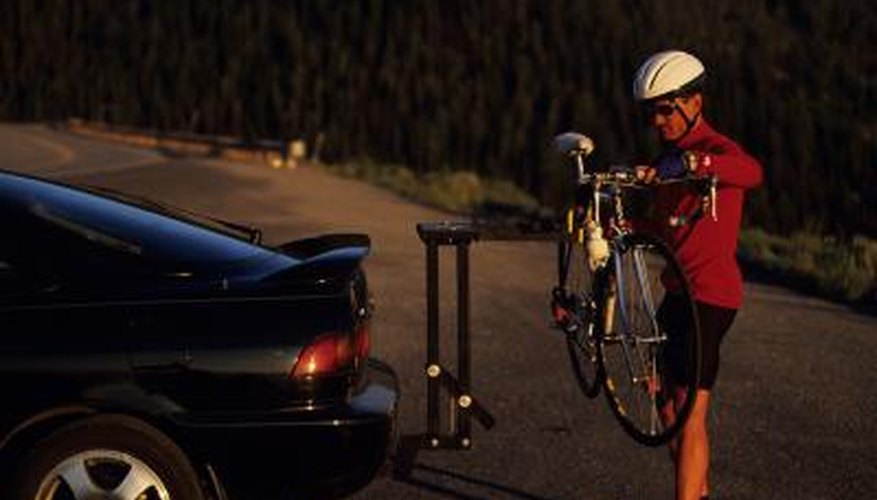
Bell manufactures two types of bike racks to transport bikes on ordinary vehicles. Strap racks install on cars, and are limited to carrying three bikes. Strap racks rest on the trunk of the vehicle, so care must be taken to avoid scratching the car. Hitch racks carry up to four bikes, but require mounting into the receiver of a trailer hitch.
Items you will need
Strap rack kit
Hitch rack kit
Strap Mount Racks
Step 1
Remove the rack from the packaging. Align the Bell logos so that they're facing up. Locate two straps labeled "upper."
Step 2
Position your body between the two long padded arms that support the bikes. Place the rack on the trunk of the car. Stretch the two upper straps forward. Hook the two metal clamps inside the front lip of the trunk. Pull the loose end of the straps, snugging them to the trunk -- but not too tight.
Step 3
Adjust the straps and rack as needed to pitch the support arms upward -- about 15 degrees or slightly less.
Step 4
Locate two straps hanging from the left side of the rack, one marked "lower" and one marked "side." Hook the lower strap to the bottom lip of the trunk on the left. Hook the side strap to the side of the trunk on the left. Repeat hooking an identical pair of straps on the right side the same way. Tug the loose ends of all four straps to tighten them securely.
Step 5
Pull the two straps on the top of the trunk tight. Double-check all straps for tightness to ensure it's ready for bikes.
Hitch Mount Racks
Step 1
Examine the receiver on the vehicle to determine it's size -- the most common is 2-inch. Insert the provided adapter from the hitch kit as needed to fit the receiver.
Step 2
Hold the rack upright. Align the square post at the bottom of the rack with the square hole in the receiver. Slide the hitch forward, inserting the square post far enough into the receiver so that two holes in the sides of the receiver align with a hole on the post of the hitch.
Step 3
Place a lock washer on the large bolt provided in the hitch kit, followed by a flat washer, also provided in the kit. Thread the bolt and washers through the hole with your fingers, to secure the hitch to the receiver. Tighten the bolt securely with the wrench provided in the kit.
Step 4
Insert the cotter pin, provided in the kit, through a hole in the exposed end of the bolt to finish the installation.
Warnings
- Check the tightness of clamps whenever you stop for gas or snacks.
Tips
- Add thin, soft pads under the clamps to avoid scratching the car.
Tips
- Add thin, soft pads under the clamps to avoid scratching the car.
Warnings
- Check the tightness of clamps whenever you stop for gas or snacks.
Writer Bio
Specializing in hardwood furniture, trim carpentry, cabinets, home improvement and architectural millwork, Wade Shaddy has worked in homebuilding since 1972. Shaddy has also worked as a newspaper reporter and writer, and as a contributing writer for Bicycling Magazine. Shaddy began publishing in various magazines in 1992, and published a novel, “Dark Canyon,” in 2008.


