


Properly indexed, the spark plugs for the Evinrude E-Tec outboard motor put the plugs' spark gap where it will fire the fuel and air mixture entering the cylinders, without having the plug "drowned" by the mixture. The process is straightforward. It involves establishing where the gap lies on the plug, where the gap should be when the plug is screwed into its bore in the cylinder head and what to do if everything doesn't quite line up.
Items you will need
Marking pen
Spark plugs
Torque wrench
Di-electric grease
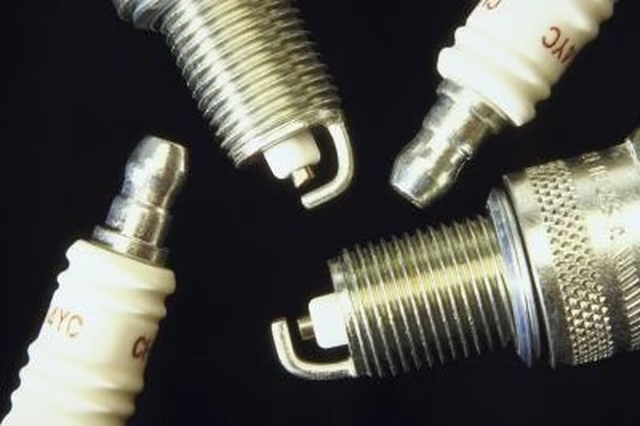
Turn the spark plug until the gap between the ground electrode and the anode is facing you. Make a vertical index mark on the plug's white ceramic insulator directly above this gap with a marking pen.
Insert the spark plug into the No. 1 spark plug bore and tighten it with the 5/8-inch spark plug wrench and note the orientation of the index mark on the ceramic insulator. Think of the cylinder bank as the face of a clock. On the starboard cylinder bank, the spark plug's index mark must rest between 12 o'clock and 3 o'clock. On the port cylinder bank, the index mark must rest between 9 o'clock and 12 o'clock. Tighten the spark plug to 15 pound-feet of torque with a torque wrench.
Switch the torque wrench to 30 pound-feet if the plug is close, but not quite indexed properly, and try to move the plug so the index mark is in the correct location. If the index mark is still in the wrong location, move the plug to the opposite cylinder bank.
Apply di-electric grease around the tip on the ceramic of the plug. Install the plug wire.
Repeat for all cylinders.