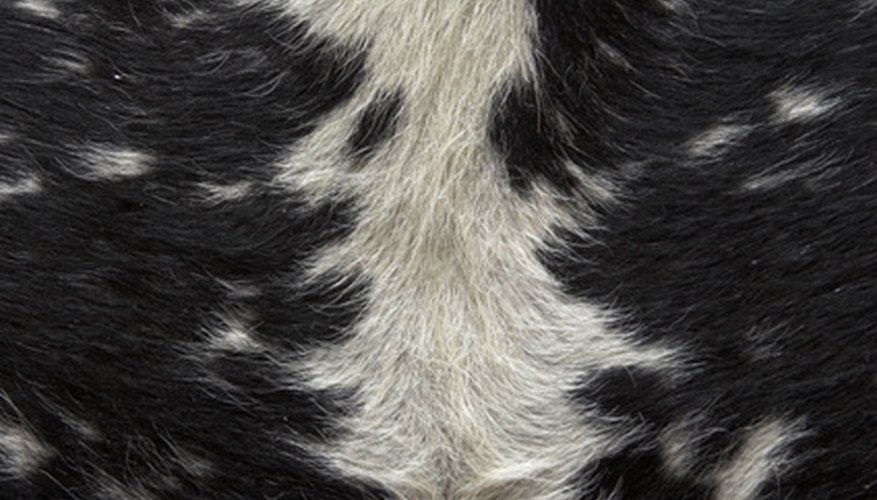


Tanning an animal hide is the ancient art of preserving it from rot and decay by soaking it in chemicals. This lets you you use it to make clothing or decorations. Before soaking the hide, though, it must be prepared. This involves stretching the hide on a hide rack so that the leftover flesh and the inner layer of the skin can be scraped off. At this stage, the hair can also be removed. Building a hide rack is very simple, and it can easily be done in the field with simple tools.
Items you will need
Hammer
Nails
Needle
Cordage
Branches
Saw
Cut four branches long enough to make a rectangle at least 6 inches bigger in each dimension than the hide you wish to stretch. You could also use pieces of flat scrap wood.
Lay down two parallel pieces of wood, then lay the other two sides on top of them to form a rectangle.
Attach all the pieces together where they cross. If you are using flat lumber, you can hammer nails through the crossing points. Using branches, it is easier to lash them together by wrapping the crossings tightly with cord. Tie the cord around one branch, then loop it repeatedly around all four sides of the crossing and diagonally over top until the branches are held tightly together.
Hammer nails into the frame every 2 or 3 inches along each side. This is optional --- the nails will be used to hold the cords from the hide, but these can also just be wrapped around the frame.
Pierce the hide with holes every 1 or 2 inches along each edge using a sewing needle, then thread cord through the holes.
Pull the cords taught and secure them to the frame by wrapping them around the frame or the nails hammered into it. The hide is now stretched out flat and tight.
Stand the frame up so that the hide is roughly perpendicular to the ground. You can lean the frame against a tree or a post to hold it in place; the skin is now accessible for scraping.
References
Writer Bio
Joshua Smyth started writing in 2003 and is based in St. John's, Newfoundland. He has written for the award-winning "Cord Weekly" and for "Blueprint Magazine" in Waterloo, Ontario, where he spent a year as editor-in-chief. He holds a Bachelor of Arts in political science and economics from Wilfrid Laurier University.