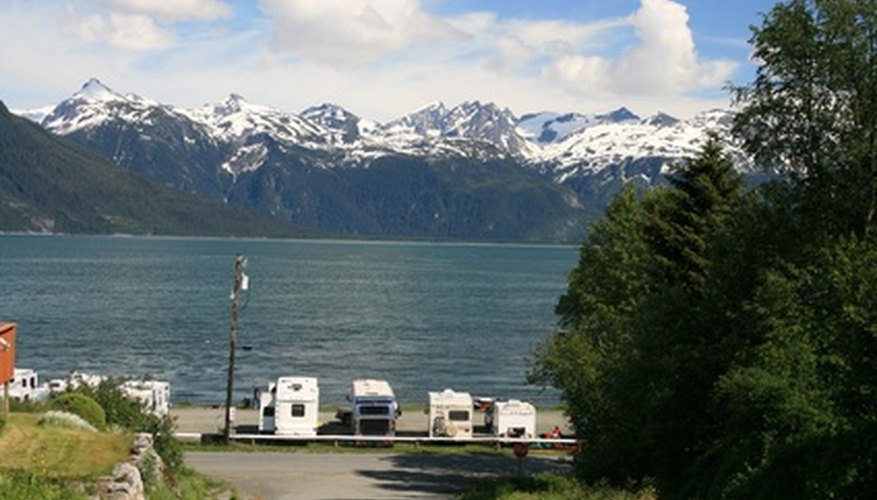

A recreational vehicle (RV) generally takes ceiling damage, not from the inside, but from the outside. Usually the damage is caused by a moisture leak on the roof. Long periods of time in wet conditions, like snow, can work away the sealant that covers all of the seems on the roof. Roof maintenance is key to prevent ceiling damage. The roof should be sealed every one to two years regardless of the climate the trailer is in. Sealing the roof means painting sealant over all seams, screws and around the perimeters of all vents and fixtures.
Items you will need
Drill
Drill bits
Drill sockets
Screws
Scraper
Roof leak sealant (rubber roof)
Replacement wood (if needed)
Replacement molding (if needed)
Replacement wallpaper (if needed)
Jigsaw (possibly)
Pry bar
Hammer
Pressboard
Strong bonding wood glue
Trace the source of the damage. It is likely a leaky roof seam. If the roof does not need to be replaced, seal the seam. If a section of the roof does need to be replaced, sealing the roof will become the last step.
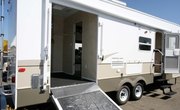
Peal away and remove any wallpaper or molding on the ceiling.
Cut out the damaged area of the roof with the jigsaw. Drill a hole to get the jigsaw blade into the ceiling. Depending on the extent of the damage an entire section of the ceiling may need replacing. Look at the molding locations to locate screws or nails underneath. These parts may also need to be carefully pulled away from the walls if attached.
Remove all damaged wood, starting with the main section of plywood and then the under beams. Using wood screws replace whole sections or cut into the good wood and cut the damaged wood out, and splice in new wood. This can be done by overlapping a piece of wood over the cut joint and screwing the new wood and old wood into the overlapping wood. Metal attachments can also be used for splicing. The stronger the bond the better. Gluing the wood joints will help the bond.
Reattach the wallpaper, molding and fixtures.
Seal the roof with sealant if it hasn't been done yet.
Warnings
- Test the structural integrity of the roof before putting the body's full weight on it.
Tips
- If heavier damage is taken, the aluminum roofing can be rolled back after separating it from its support beams.
References
Tips
- If heavier damage is taken, the aluminum roofing can be rolled back after separating it from its support beams.
Warnings
- Test the structural integrity of the roof before putting the body's full weight on it.
Writer Bio
This article was written by the CareerTrend team, copy edited and fact checked through a multi-point auditing system, in efforts to ensure our readers only receive the best information. To submit your questions or ideas, or to simply learn more about CareerTrend, contact us [here](http://careertrend.com/about-us).