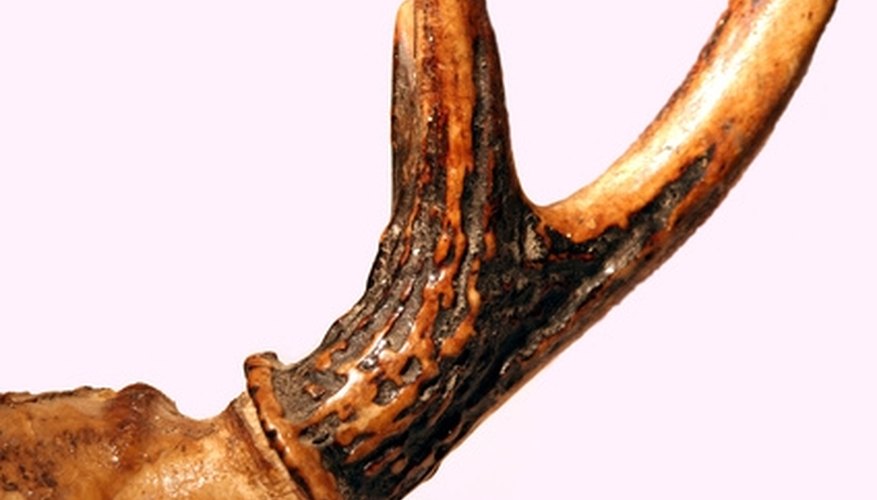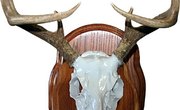
Deer horn is bone that grows out of the deer's skull. In the winter the horns fall off and a new set is grown the next summer. The horns themselves do not need to be cured or dried as they are hard bone with little moisture in them. It is the skull plate that the horns are attached to that needs to be cured and dried before the horns can be mounted. Mounting the horns without curing the skull plate will result in the flesh residue on the plate decomposing, smelling bad and ruining the mount.
Items you will need
Hand saw
Sharp knife
Salt, 1 lb.
Plastic pan
Cut the horns from the deer's head by cutting with the saw on a line parallel to the horn base, through the eyes, across the bridge of the muzzle, and through the back of the skull. Cut completely through the skull coming out on the opposite side of the head. Pull the horns and skull plate loose from the skull.
Peel and cut the skin off of the skull plate and completely clean out all the flesh from the underside of the skull plate.
Pour a layer of salt in the bottom of the pan. Liberally rub salt into the underside of the skull plate and then set the skull plate on the salt layer with the horns up. Pour the remainder of the salt on the plate and rub it into the bone.
Leave the horns in the salt for 48 hours to draw the moisture out of the skull plate. The salt also preserves the bone and any fleshy material that could not be cleaned off.
Remove the horns from the salt after 48 hours and brush the salt off. Hang the horns in a dry place away from vermin. Let the horns dry in this manner for anywhere from one week to a month depending on the weather and humidity.
Warnings
- Cutting through the skull requires you to push hard on the saw, be careful and don't slip with the saw and cut yourself.
- The underside of the skull plate has sharp knife-edged ridges that can cut you; be careful when handling the skull plate.
Tips
- Do not wash the salt off the skull plate as this defeats the purpose of drawing the moisture out with the salt.
- Test the skull bone for dryness by scraping the top of the skull plate with your finger nail. When the bone scrapes dry and no soft residue comes off, the skull plate has finished drying.
References
- "Outdoor Life Complete Home Taxidermy;" Tim Kelly; 1987
- "Shooter's Bible Taxidermy Guide;" Russell Tinsley; 1967
Tips
- Do not wash the salt off the skull plate as this defeats the purpose of drawing the moisture out with the salt.
- Test the skull bone for dryness by scraping the top of the skull plate with your finger nail. When the bone scrapes dry and no soft residue comes off, the skull plate has finished drying.
Warnings
- Cutting through the skull requires you to push hard on the saw, be careful and don't slip with the saw and cut yourself.
- The underside of the skull plate has sharp knife-edged ridges that can cut you; be careful when handling the skull plate.
Writer Bio
Dave P. Fisher is an internationally published and award-winning Western novelist and short-story writer. His work has appeared in several anthologies and his nonfiction articles in outdoor magazines. An avid outdoorsman, Fisher has more than 40 years of experience as a hunter, trapper, fisherman, taxidermist, professional fly-tyer, horsepacker and guide.


