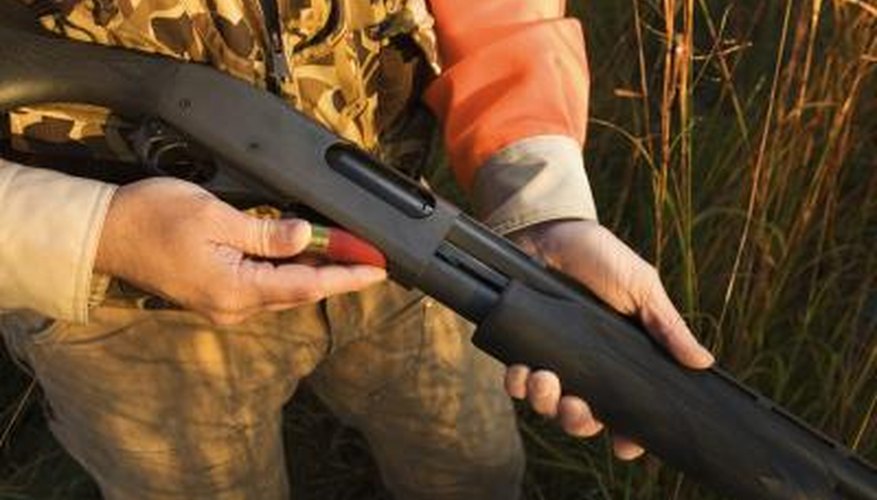
Lead-shot making has been around since the 16th Century. Since the introduction of black powder in Europe at that time, wing-shooters have treasured the art of making their own shot shells. The integral component in the process is a small sphere of pure lead. Prior to the introduction of modern shot-making equipment, lead shot was dripped as molten lead into the air. As it fell, it naturally assumed a spherical shape, landing in a bath of water or cool motor oil to solidify. Today, this ancient art of lead-shot making has been revitalized.
Items you will need
Tape measure
T-square
Permanent marker
Steel plate (3/8 inch by 24 inches by 36 inches)
Acetylene torch and tanks
Heavy steel file
Steel vise
140-Amp stick welder
Power drill
3 Wire feed nozzles (.023 inch)
Sheet metal (1/8 inch by 6 inches by 8 inches)
Power hacksaw
Teflon paint
Paintbrush
Step 1
Measure and mark five pieces of 3/8-inch steel plate for the body of the lead open hearth. The back and front should be 12 inches by 8 inches, and 12 inches by 4 inches, respectively. The sides should be identical, trapezoidal shapes with an 8-inch-base dimension, a right-edge length of eight inches and a left-edge dimension of four inches. The bottom of the open hearth should be 12 inches by 8 inches.
Step 2
Cut the pieces of the lead open hearth with an acetylene torch. Clean up the edges with a heavy steel file.
Step 3
Weld the five pieces together, producing a lead open hearth that measures 12 inches by 8 inches with the back slanted down to a front side four inches high.
Step 4
Measure, mark and drill three equidistant holes in the lower face of the front panel. Make the holes 1/2 inch in diameter and 3/4 inch up from the inside bottom of the hearth. Use a power drill to make the holes.
Step 5
Insert the wire feed nozzles through the holes, one at a time, with the pointed tip of the nozzle extending 1/2 inch outbound of the hearth. Weld the nozzles in place by looping a bead of metal around the edge of the hole on both sides of the front plate (the nozzles are brass so they must be welded this way; brass can't be welded to steel).
Step 6
Measure, mark and cut four legs for the hearth. Make them 1 inch by 6 inches of 3/8-inch steel plate. Weld them to the four corners of the base of the hearth, producing an elevated hearth that can be fired from beneath its frame.
Step 7
Measure and mark a 6-inch-by-8-inch piece of 1/8-inch sheet metal for the drip plate. Cut the piece with a power hacksaw. Weld the piece to the bottom edge of the open hearth. Make it point down and forward with a 45-degree angle from the bottom of the base.
Step 8
Use a Teflon paint to coat the upper surface of the drip plate.
Warnings
- Wear eye protection when working with hot metal.
Tips
- Place a double row of 5/8-inch firebrick pieces under the shot maker prior to inserting a fire source under the box.
- Place a small plastic tub with four inches of antifreeze under the shot maker for the shot to drip into.
References
- "Welding Fabrication and Repair"; Frank Marlowe; 2002
Tips
- Place a double row of 5/8-inch firebrick pieces under the shot maker prior to inserting a fire source under the box.
- Place a small plastic tub with four inches of antifreeze under the shot maker for the shot to drip into.
Warnings
- Wear eye protection when working with hot metal.
Writer Bio
James Roberts began writing professionally in 1989, focusing initially on methodologies, multimedia courses and how-to articles on information technology, business, software, health care and relationships. His published works appear on various online article databases and he holds a Bachelor of Science in business from West Virginia University.


