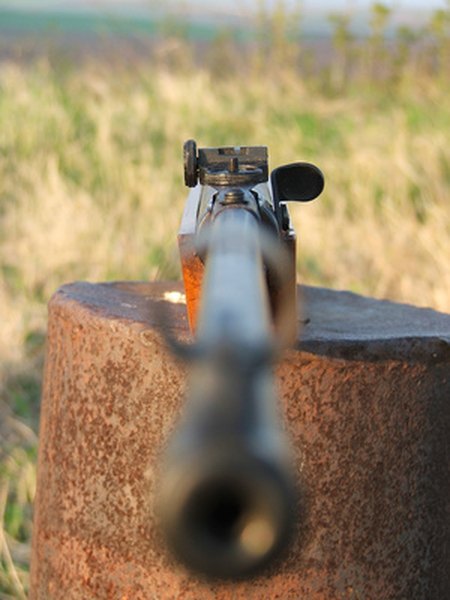
Iron sights used to be common on most rifles. But in recent years, scopes have outpaced iron sights in popularity, and have replaced them on many rifles. Iron sights can be a reliable backup if your other methods of aiming fail. If you own a rifle that doesn't have iron sights, it is possible to add them yourself, but only if you have the proper know-how. Otherwise, a trained gunsmith can do it for you.
Items you will need
Iron sight mount (options vary)
Vise
Wooden dowel
Tap hammer
Screws
Wrench
Drill press
Carbide bit
Flat bottom tap
Select the type of iron sight you want to install. Not all sights will be compatible with all rifles. You can choose between sights that are mounted near the rear of the rifle (such as a rear peep sight) or sights that are mounted near the front of the rifle, on the barrel (such as an aperture front sight). Also keep in mind that different sights are mounted in different ways.
Prepare your rifle for the sight installation. Make sure the rifle is clean, particularly near the area where you'll be installing the iron sight. Check to ensure that the rifle is not loaded.
Rest the rifle in a vise, so that it is lying in the same position as it would be when you shoot it.
Tap a dovetail-mounted sight using a wooden dowel and tap hammer. Gently tap the sight into the dovetail on your rifle. This type of iron sight can only be mounted on rifles that already have a dovetail (special grooves on the rear part of the rifle). After the sight is in place, you may have to screw-in the sight with a wrench to further stabilize it (this depends on the style of sight you selected in Step 1).
Measure and mark where you want to install the iron sight on your rifle.
De-temper the rifle. Most rifles come already tempered, a step that protects them from the heat of firing a bullet. If you are not trained in de-tempering, you should leave this step to a gunsmith.
Use a high-powered drill to prepare to mount the iron sight base. A drill press with a carbide bit is recommended. Never drill into the barrel of the gun, as this could damage the rifle and how it fires.
Use a flat-bottom tap to gently tap to tap into the pilot hole created in Step 7. This is a slow process, and you should use extreme caution while doing so; tapping too hard can damage the gun irreparably.
Install the mount and the iron sights.
Temper the rifle if you had to de-temper it in Step 6.
Warnings
- Steps 6 through 10 require a large amount of expertise. If you are not trained in gunsmithing, it is strongly recommended that you take your rifle to a gunsmith. This will cost you about $50, but could save the integrity and the value of your firearm.
- Make sure the gun is unloaded before beginning to work on it.
Tips
- Making any changes to an older or historic rifle can devalue it.
References
Tips
- Making any changes to an older or historic rifle can devalue it.
Warnings
- Steps 6 through 10 require a large amount of expertise. If you are not trained in gunsmithing, it is strongly recommended that you take your rifle to a gunsmith. This will cost you about $50, but could save the integrity and the value of your firearm.
- Make sure the gun is unloaded before beginning to work on it.
Writer Bio
Elizabeth Falwell has been writing for the TV news industry since 2005. Her work has appeared on WXII 12 News, WMGT 41 News, NewParent.com and multiple parenting blogs. A graduate of the S.I. Newhouse School at Syracuse University, Falwell holds a Master of Science in broadcast journalism.


