
Properly setting the zero on your ACOG means you’ll hit your target every time. The Trijicon Advanced Combat Optical Gunsight, or ACOG, is an optical sighting system that allows quick target acquisition using an illuminated target reticule. These reticules can come in different shapes such as a chevron, triangle, cross hair or circle. Zeroing is the process of adjusting a weapon sight until the point of aim, or POA, is the same as the point of impact, or POI. When zeroed, the ACOG will allow you to hit a target with a given degree of accuracy known as the minute of angle, or MOA. The MOA is different for each weapon and type of ACOG used. The ACOG is normally zeroed at 100 meters, however it is possible to zero it at 100 yards
Items you will need
ACOG
Flathead screwdriver
Table
Weapon rest or sandbags
2 zeroing target printed with 1-inch squares
Binoculars or spotting scope
Step 1
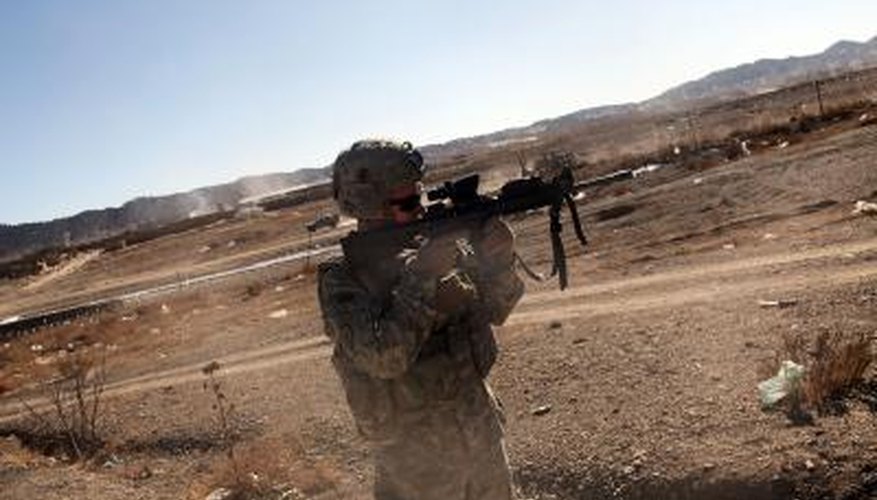
Unload the weapon and pull back on the charging handle. Look inside the receiver to verify the weapon is unloaded.
Step 2
Place the ACOG mounting base on the rails on top of the receiver. Tightening the screws with your fingers. Tighten the screws another one-quarter turn using the screwdriver.
Step 3
Unscrew the adjuster caps on the top and right side of the ACOG. Load the weapon with one round, aim it at the backstop or dirt berm, and fire one round. This will set the ACOG in place, so recoil will not affect your zero.
Step 4
Set up the weapon rest or sandbags on the table. Unload the weapon and set it aside. Walk to the 100-meter target post and mount the target. Return to the table and mount the weapon in the rest, or rest the barrel on the sandbags.
Step 5
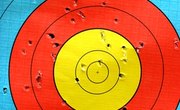
Load the weapon with a full magazine and fire one round at the center of the target. Use the spotting binoculars or spotting scope to locate the POI.
Step 6
Approximate the vertical distance from the hole to the center of the target by counting the squares. Turn the elevation screw on the top of the ACOG until you hear an audible “click.” Turn it one “click” for every 1/4 inch of distance needed to move the POI. If the POI is low, turn the screw in the U direction marked on the ACOG. If the POI is high, then turn it in the D direction.
Step 7
Approximate the horizontal distance from the hole to the center of the target. Turn the windage screw on the top of the ACOG to adjust the POI. If the POI is to the left, turn the screw in the R direction. If the POI is to the right, then turn it in the L direction.
Step 8
Fire another round at the center of the target and repeat the adjustment steps if necessary.
Step 9
Replace the target with a fresh one and fire 10 rounds at the center of the target. If the grouping is within the MOA for the sight and is roughly centered on the middle of the target, your ACOG is zeroed properly.
Tips
- If one of your rounds strikes the target in a wildly different position during your zero, ignore it and fire another round. The previous round was probably defective. If the next round does the same thing, remove and remount the ACOG and start the process over.
- If the ACOG is coming loose from recoil, use blue Locktite on the mounting screws.
- If you have an ACOG that is capable of being “battle zeroed,” use the same steps at 25 meters. Aim the ACOG using the point indicated in the instructions for the battle zero. Normally this would be the top point of the bullet drop compensator post. At this distance, each “click” will move the POI 1/16 inch.
- If you remove your ACOG after a successful zero, you can remount it in the same location on the weapon rails and keep that zero. Always confirm your zero after a remount.
Writer Bio
A native of New Orleans, Derek Brown is a professional jeweler and jewelry designer with a passion for writing. He holds a Bachelor of Science in biological engineering from Louisiana State University.